How to Use UI Kits in Photoshop: Complete Guide
EpicPxls offers 200+ curated ui kits for Photoshop, all with a commercial license and editable source files (Figma, Sketch, PSD). Download your chosen ui kits from EpicPxls, then use Photoshop's import function. Most resources include Photoshop-native files for seamless opening.
Last updated February 13, 2026
Everything you need to know about using ui kits in Photoshop.
Trusted by designers at leading companies
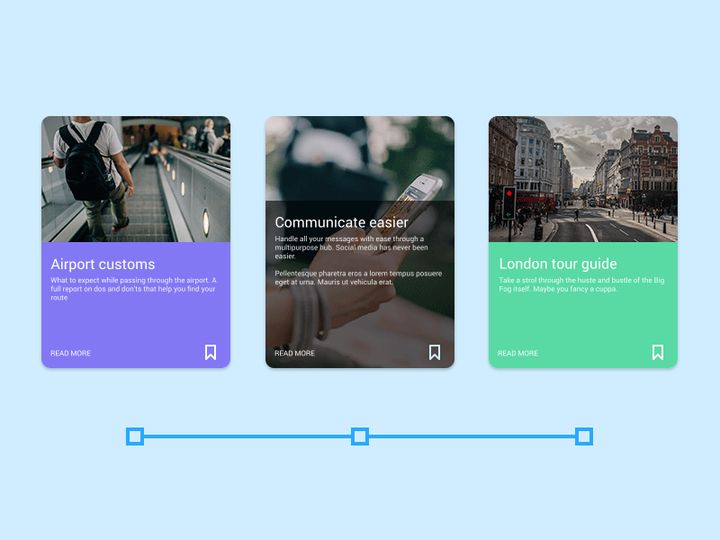
Top UI Kits for Photoshop
Handpicked resources from our curated collection


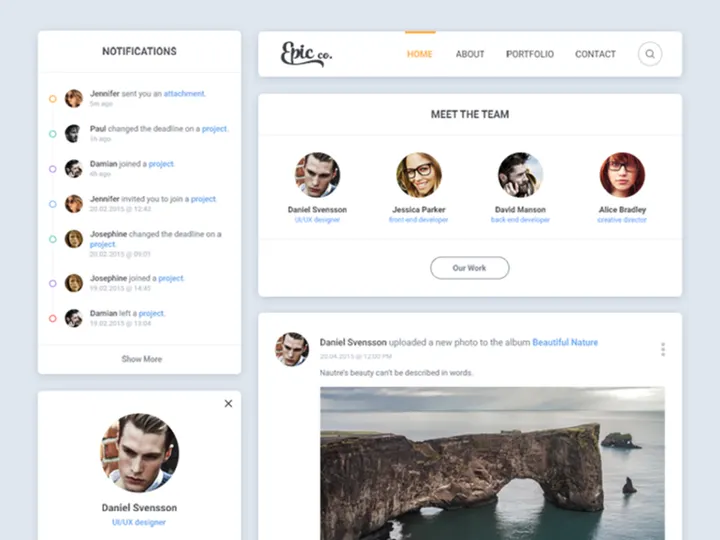


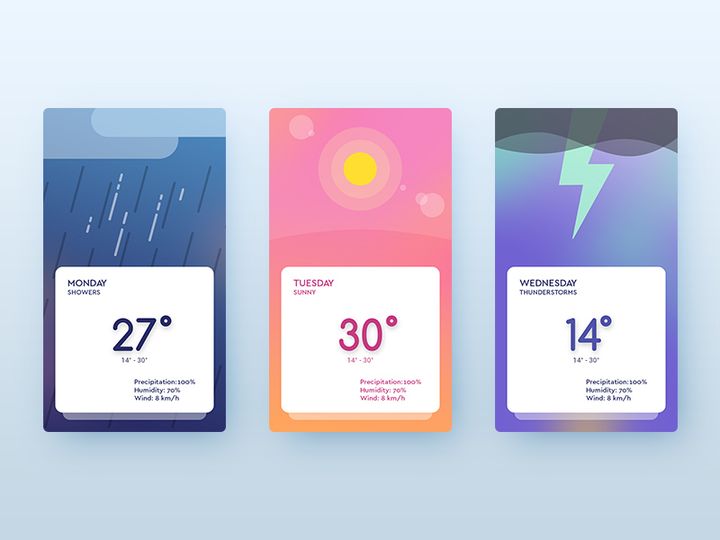


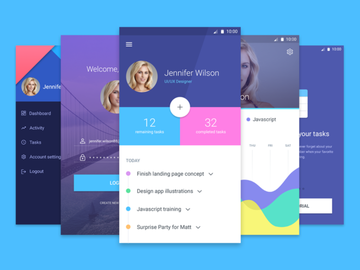
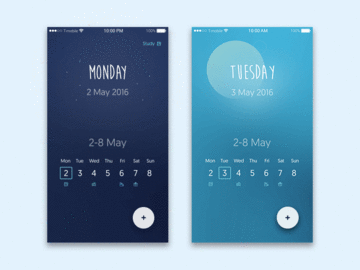
![Clean & Modern iOS UI Kit [PSD] preview picture](https://imgproxy.epicpxls.com/3QrebASS4Q_uhm0WRR9MwTYFkCQl4xIkpqnW40yWw5M/rs:fill:720:540:0/g:no/aHR0cHM6Ly9pdGVt/cy5lcGljcHhscy5j/b20vdXBsb2Fkcy9w/aG90by8yYjI1ZmY4/ZmVmNjcyNTcyYjkx/OTRmZjBmYWE3NzRk/MC5qcGc.jpg)
Try Our Free Resources
Download any of these for free - no account required


Getting Started with UI Kits in Photoshop
Using UI kits in Photoshop can significantly streamline your design process, whether you're creating a website, mobile app, or digital product interface. Before diving into the world of UI kits, it’s essential to ensure your Photoshop environment is properly set up. Make sure you’re running a recent version of Adobe Photoshop—preferably Photoshop CC 2020 or later—to take full advantage of modern features like vector layers, artboards, and advanced layer organization. These features are critical when working with detailed UI kits that rely heavily on scalable elements and layered components.
Photoshop supports a wide range of design assets, making it an ideal platform for UI/UX designers. To get started, you’ll need to source UI kits that are compatible with Photoshop’s file structure. Many designers turn to curated marketplaces that offer PSD-formatted UI kits with organized layers, smart objects, and customizable components. One such trusted resource is EpicPxls, which hosts a growing collection of over 200+ resources specifically tailored for digital interface design. These kits cover a wide range of styles—from flat and material design to neumorphic and glassmorphism—ensuring you’ll find something that fits your project’s aesthetic.
The beauty of using UI kits from EpicPxls lies in their attention to detail and compatibility. Each kit is designed to work seamlessly within Photoshop, with clearly labeled layers, color-coded groups, and reusable components. This makes it easy for both beginners and advanced users to adapt the designs to their needs. With 200+ resources available, you can explore different themes, color schemes, and component libraries to build consistent, professional interfaces quickly. Whether you're designing a dashboard, an e-commerce platform, or a mobile app, these kits provide a solid foundation to start from, reducing design time and boosting creative efficiency.
How to Import UI Kits into Photoshop
- Choose the Right File Format: When downloading a UI kit, ensure it includes a PSD (Photoshop Document) version. While some kits may also come in AI (Illustrator), SVG, or even Figma formats, the PSD file is essential for full compatibility with Photoshop’s layer and editing features.
- Download from a Trusted Source: Visit EpicPxls and browse their 200+ resources to find a UI kit that matches your project’s needs. Click the download button and save the compressed file (usually .zip or .rar) to your computer.
- Extract the Archive: Use a file extraction tool to unzip the downloaded folder. Inside, look for the .PSD file—this is the main file you’ll open in Photoshop. Additional assets like fonts, icons, or documentation may also be included.
- Open the PSD File: Launch Photoshop and go to File > Open. Navigate to the extracted folder, select the .PSD file, and click “Open.” Photoshop will load the file with all its layers, groups, and smart objects intact.
- Review Layer Structure: Once opened, go to the Layers panel to explore the organization. Well-designed UI kits use nested folders, named layers, and color labels to help you navigate components like buttons, forms, navigation bars, and cards.
- Handle Non-PSD Assets: If your UI kit includes SVG icons or AI vector files, you can place them into your Photoshop document via File > Place Embedded. This preserves scalability. For Figma files, consider exporting individual components as PNG or SVG first, then importing them into Photoshop as needed.
By following these steps, you ensure a smooth import process that preserves the integrity of your UI kit. Always verify that all linked assets are included in the download and that your Photoshop version supports the features used in the file. This preparation sets the stage for efficient customization and design.
Step-by-Step: Working with UI Kits in Photoshop
Editing Layers and Components
One of the greatest advantages of using UI kits in Photoshop is the ability to fully customize every element. Most kits from EpicPxls are built with smart objects, shape layers, and vector masks, allowing you to resize, recolor, and restructure components without losing quality. To edit a button, for example, simply double-click the layer thumbnail in the Layers panel. This opens the smart object in a new tab where you can modify text, icons, or background colors. Once saved, the changes automatically update in your main document.
Text layers are typically left editable, so you can update labels, headings, or placeholder copy with just a click. Use the Type Tool (T) to select and change text, and ensure the correct font is installed—most kits include a font list in the documentation. For color changes, take advantage of Photoshop’s adjustment layers or simply double-click the color thumbnail in shape layers to open the color picker. Many UI kits also use layer styles like drop shadows, strokes, and gradients, which can be modified in the Layer Style dialog for consistent visual effects across components.
Organizing Your UI Kits Library
With access to 200+ resources, it’s easy to accumulate a large collection of UI kits. To maintain efficiency, create a dedicated folder structure on your computer—organize by project type (e.g., “Mobile Apps,” “Dashboards,” “E-commerce”) or style (e.g., “Material Design,” “Dark Mode”). Within each folder, keep the original PSD files, fonts, and documentation together.
In Photoshop, use layer naming conventions and color labels to group related elements. For instance, name all button variations with a prefix like “BTN_” and use blue labels for interactive elements. Consider creating a master library document where you import frequently used components—this acts as a personal UI component library you can copy from across projects. By maintaining a clean, searchable structure, you’ll save time and reduce redundancy in your design workflow.
Exporting for Production
Once your design is complete, exporting assets correctly is crucial for development handoff. Photoshop offers several export options under File > Export > Export As or Save for Web (Legacy). For web and mobile projects, export individual components like icons, buttons, and images as PNG (for transparency) or SVG (for scalability). Use the “Asset Export” panel to define slices and automatically generate multiple sizes (1x, 2x, 3x) for responsive design.
For print or high-resolution mockups, save a PDF version via File > Save As and select PDF format. This preserves vector quality and is ideal for client presentations. When working with developers, consider exporting a complete screen as a PNG or PDF with layers flattened, along with a separate style guide that documents colors, fonts, and component usage. This ensures consistency between design and implementation.
Troubleshooting Common Photoshop Issues
File Won't Open
If a UI kit fails to open in Photoshop, the most likely cause is version incompatibility. Older versions of Photoshop may not support features used in newer PSD files, such as advanced layer effects or smart object nesting. Try opening the file on the latest version of Photoshop, or check if the provider offers a backward-compatible version. Additionally, ensure the file wasn’t corrupted during download—re-download it from EpicPxls if necessary. If the file opens but appears distorted, verify that all layers are visible and that no filters or blending modes are causing rendering issues.
Missing Fonts or Assets
When text layers display warning icons, it means the original font isn’t installed on your system. Most UI kits include a “Fonts” folder or a text file listing required typefaces. Install these fonts by double-clicking the .otf or .ttf files and selecting “Install.” Alternatively, Photoshop will prompt you to replace missing fonts—choose a similar typeface to maintain visual harmony. For missing icons or images, check the kit’s documentation to see if external assets (like icon fonts or image placeholders) need to be downloaded separately. Always keep the original folder structure intact to avoid broken links.
Performance Problems
Large UI kits with hundreds of layers and smart objects can slow down Photoshop, especially on older hardware. To improve performance, collapse unused layer groups in the Layers panel and disable layer visibility for elements you’re not actively editing. Rasterize non-essential smart objects if you no longer need to edit them. Adjust Photoshop’s performance settings under Edit > Preferences > Performance to allocate more RAM and enable GPU acceleration. If the file becomes too cumbersome, consider breaking it into smaller PSDs by screen or component type—this also makes collaboration easier.
Advanced Photoshop Tips for UI Kits
Batch Processing
When working with multiple screens or components, batch processing can save hours of manual work. Use Photoshop’s Actions panel to record repetitive tasks—like resizing, renaming, or exporting elements—and apply them across multiple files. For example, create an action that resizes a button to 48px height, applies a shadow, and exports it as a PNG. Then run this action on dozens of similar components with a single click. This is especially useful when standardizing assets from different UI kits into a unified design system.
Plugins and Extensions
Enhance your UI design workflow with Photoshop plugins that integrate seamlessly with UI kits. Tools like SVG Export, LayerMonkey, or GuideGuide help automate layout creation, export vector assets, and manage grids efficiently. Some plugins even allow you to import UI components directly from online libraries or sync styles across documents. While not all plugins are free, many offer trial versions that can significantly boost productivity. Always download plugins from trusted sources to avoid security risks.
Collaboration Workflows
When working in teams, maintaining a shared UI kits library ensures consistency across designs. Store your preferred PSD files on a cloud drive (like Google Drive or Dropbox) and establish naming conventions and version control practices. Use Photoshop’s Layer Comps to save different states of a design (e.g., hover, active, disabled) within a single file, making it easier for developers to understand interactions. For remote collaboration, consider exporting annotated PDFs or using design review tools that integrate with Photoshop. With 200+ resources available on EpicPxls, teams can standardize on a core set of kits, reducing duplication and ensuring brand alignment across projects.
Why Download from EpicPxls?
Commercial License
Use in personal and commercial projects
No Account Required
Download free resources instantly
Quality Curated
Every resource is reviewed for quality
Preview Files
See Figma and Photoshop files before downloading
Who Uses These Ui Kits?
Professionals and teams who benefit most from our collection
UI/UX Designers
Speed up your workflow with ready-to-use ui kits for Photoshop. Perfect for prototyping and client presentations.
Developers
Get production-ready assets without design skills. Export in any format for web and mobile apps.
Startups & Agencies
Save design budget with affordable premium ui kits. Commercial license included for client work.
Marketing Teams
Create professional campaigns faster. All ui kits are optimized for social media and ads.
UI Kits for Photoshop FAQCommon questions about these resources
Simple, Transparent Pricing
Get unlimited access to all premium resources
Yearly
- 20 downloads per month
- All file formats
- Commercial license
Lifetime
- Unlimited downloads forever
- All file formats
- Commercial license
Ready to Get Started?
Access 4,441+ free design resources today.
Browse Free ResourcesView Premium PlansEarn 85% and
more on all sales
Upload your products and put them up
for sale at whatever price you want.

