How to Use UI Kits in HTML: Complete Guide
EpicPxls offers 48+ curated ui kits for HTML, all with a commercial license and editable source files (Figma, Sketch, PSD). Download your chosen ui kits from EpicPxls, then use HTML's import function. Most resources include HTML-native files for seamless opening.
Last updated February 13, 2026
Everything you need to know about using ui kits in HTML.
Trusted by designers at leading companies
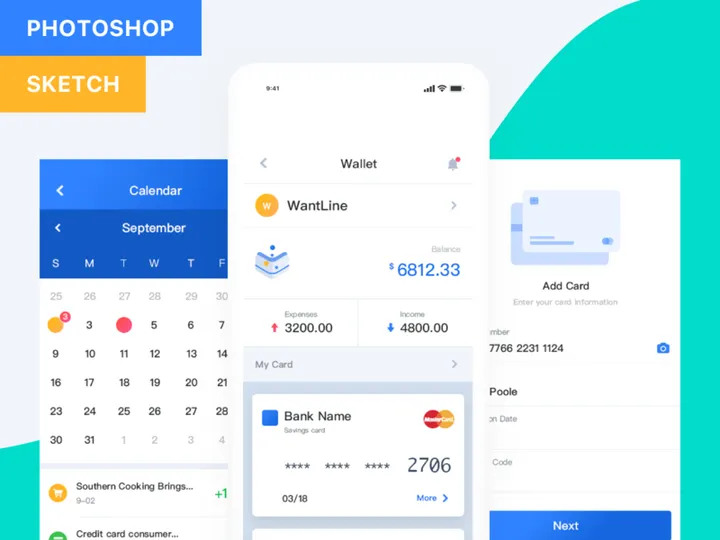
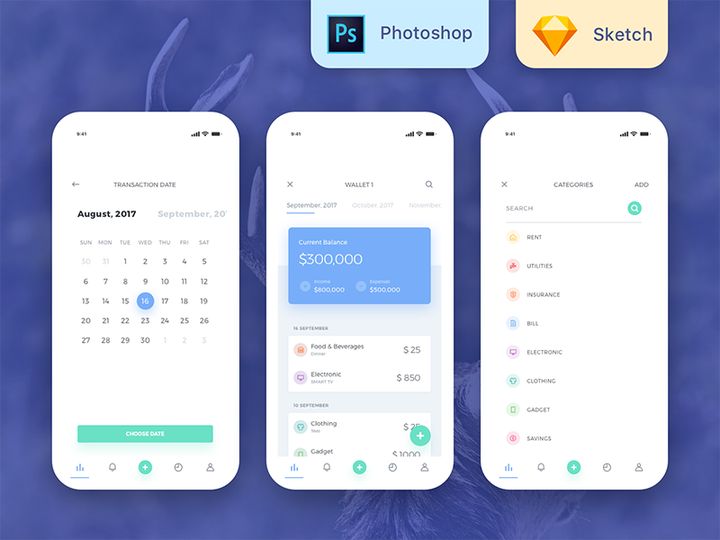
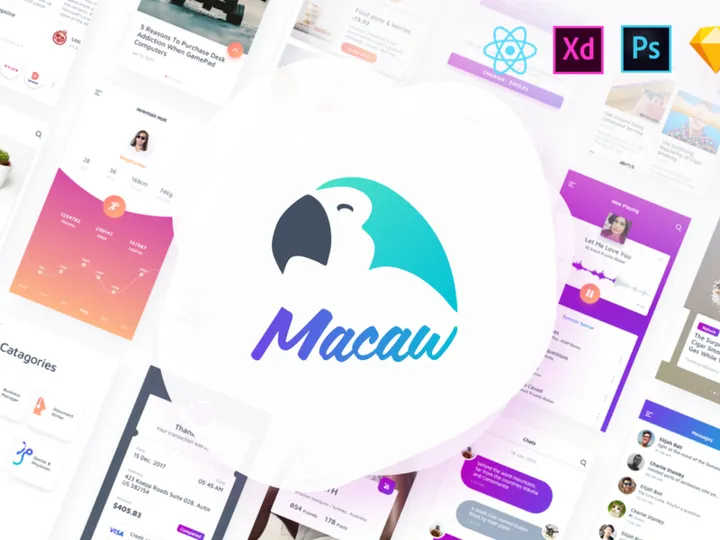
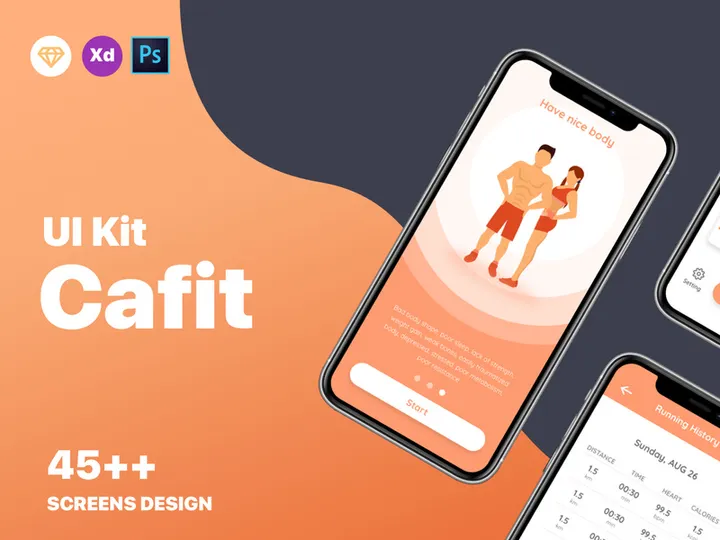
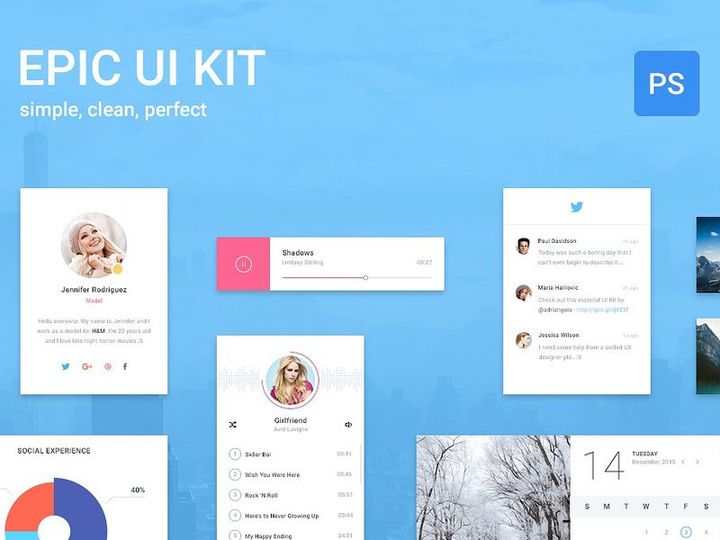
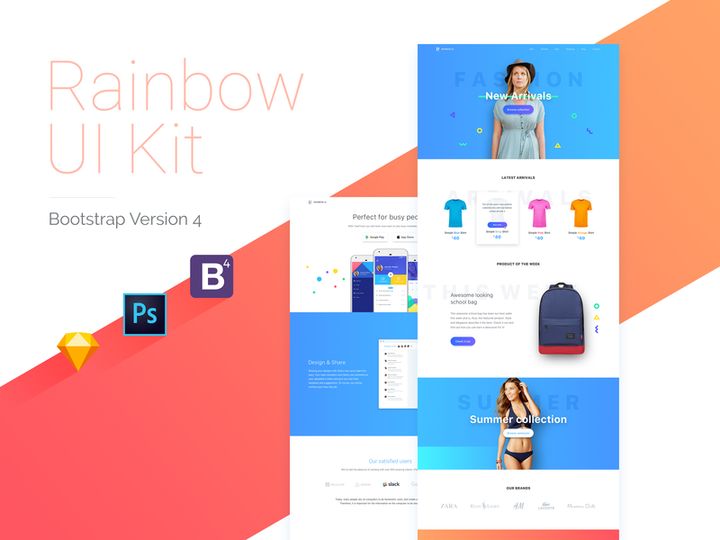
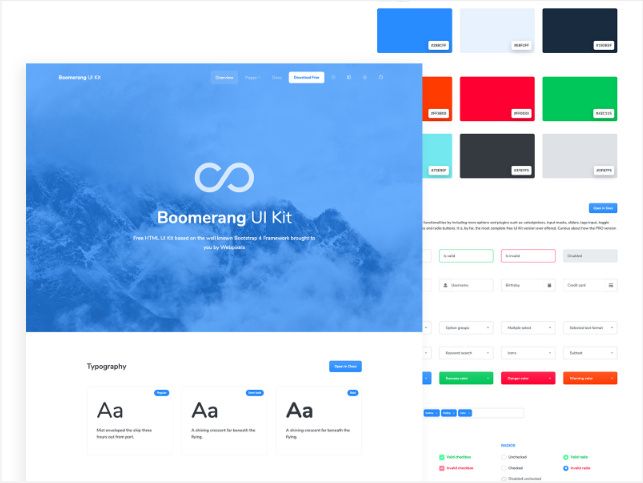
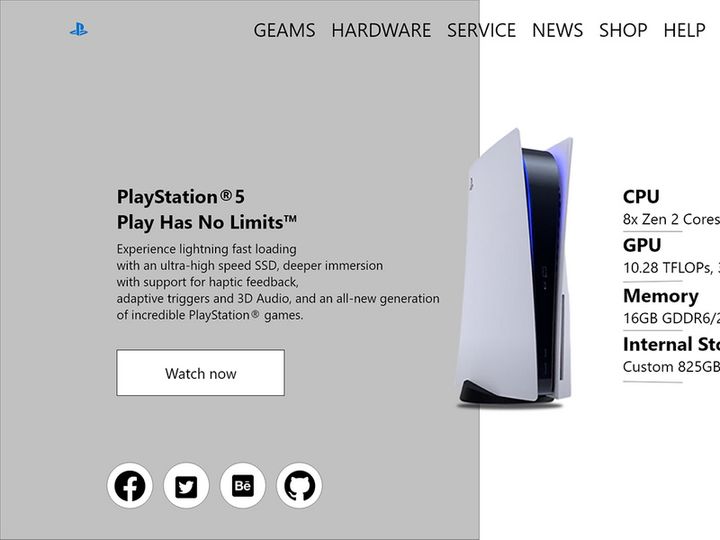
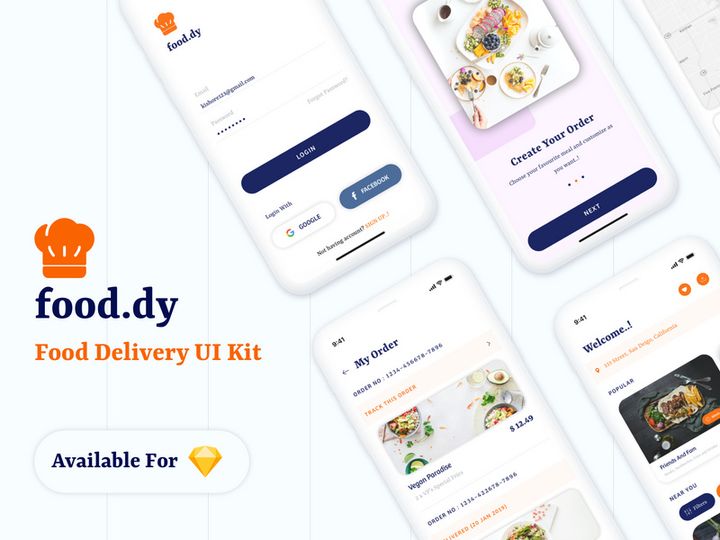
Top UI Kits for HTML
Handpicked resources from our curated collection


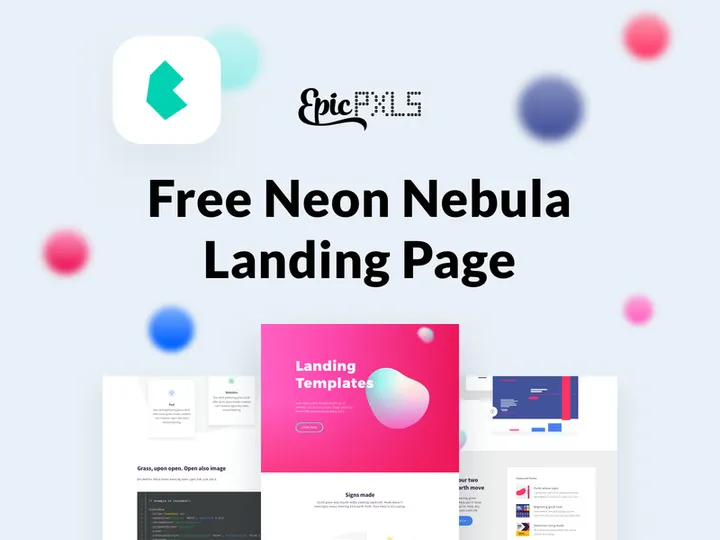

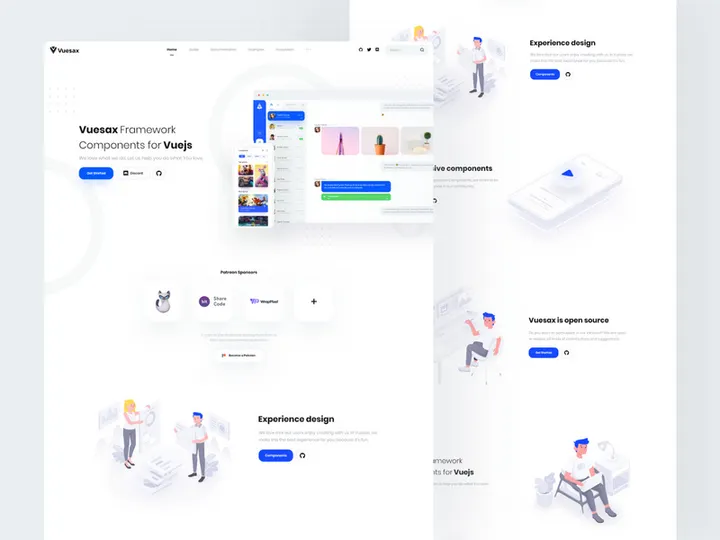


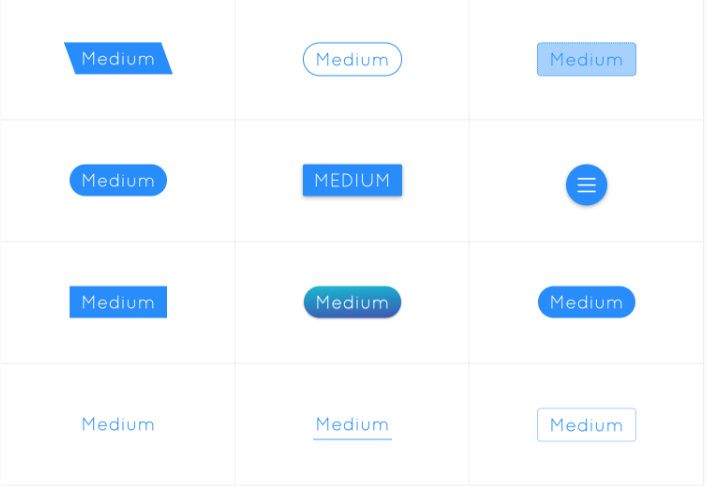
Try Our Free Resources
Download any of these for free - no account required

Getting Started with UI Kits in HTML
Using UI kits in HTML is a powerful way to accelerate web development and ensure consistent, professional design across your projects. Before diving in, it’s important to have a foundational understanding of HTML and basic web standards. You should be familiar with creating and editing HTML files, linking external resources such as CSS and JavaScript, and managing assets within a project folder. No advanced coding is required initially, but knowing how to inspect elements and modify classes will help you customize UI kits effectively.
UI kits are collections of pre-designed interface elements—buttons, forms, navigation bars, cards, modals, and more—that are ready to be implemented into your website. These kits save time and maintain visual consistency, especially when building prototypes or full-scale websites. When selecting a UI kit for use with HTML, make sure it includes web-ready assets such as HTML/CSS files, SVG graphics, or exportable components that integrate smoothly into your codebase.
You can find high-quality UI kits across various design platforms, but one of the best sources is EpicPxls, which offers over 45+ resources tailored for web developers and designers. These kits come in multiple formats and are designed with responsiveness and modern design trends in mind. Whether you're building a landing page, admin dashboard, or e-commerce site, the variety available on EpicPxls ensures you’ll find components that match your vision. Many of these kits are optimized for quick integration and include documentation to guide your implementation.
Before downloading, verify that the UI kit supports HTML integration—look for packages that include standalone HTML files, modular CSS, or component libraries. This ensures you can easily drop elements into your project without rebuilding from scratch. With the right preparation and resources, incorporating UI kits into your HTML workflow becomes a seamless and efficient process.
How to Import UI Kits into HTML
- Choose the Right UI Kit Format: Start by downloading a UI kit that includes HTML-compatible files. Look for packages with .html, .css, .js, and .svg files. While some kits may come in design formats like Figma, PSD, or AI, ensure the download also includes a developer handoff or exportable web assets. EpicPxls provides many kits with direct HTML/CSS exports, making them ideal for immediate use.
- Extract the Downloaded Files: Once downloaded, unzip the folder to access its contents. Organize the files into a logical directory structure—typically including folders for CSS, JS, images, and fonts. This helps maintain clarity and makes future updates easier.
- Link CSS and JavaScript Files: Open your main HTML file and link the UI kit’s stylesheet using the
<link>tag in the<head>section. Similarly, include any required JavaScript files before the closing</body>tag to ensure components like dropdowns or modals function correctly. - Copy and Paste Components: Browse the UI kit’s demo or documentation page to find the component you want—such as a navigation bar or card layout. Copy the corresponding HTML structure and paste it into your project. Adjust class names or IDs if needed to avoid conflicts.
- Verify Asset Paths: Check that all image, font, and icon paths in the CSS or HTML are correctly pointing to their locations in your project folder. Incorrect paths are a common reason components don’t display properly.
- Test Across Browsers: Open your HTML file in multiple browsers (Chrome, Firefox, Safari) to confirm that the UI kit components render correctly and interact as expected. Address any discrepancies in styling or functionality early in the process.
When working with non-HTML formats like Figma or PSD, use the design tool to export assets as SVG or PNG, then manually recreate the structure in HTML using semantic markup. Always prioritize accessibility and clean code when translating visual designs into functional web elements. With over 45+ resources available, EpicPxls simplifies this process by offering kits that are already structured for web deployment.
Step-by-Step: Working with UI Kits in HTML
Editing Layers and Components
Once a UI kit is integrated into your HTML project, customization is often necessary to match your brand or layout requirements. Most UI kits use modular CSS classes (such as .btn-primary or .card-lg), which you can modify directly in the stylesheet. To change colors, fonts, or spacing, locate the relevant class in the CSS file and update its properties. For example, altering the primary color involves changing the background-color value assigned to buttons or links.
If the UI kit uses a preprocessor like SCSS, you can adjust variables at the top of the file (e.g., $primary-color: #007BFF;) to globally update the theme. This approach ensures consistency and reduces repetitive changes. For individual components, you can add custom classes in your HTML and define new styles in a separate CSS file to avoid modifying the original kit—this makes future updates easier.
Interactive elements such as dropdowns, sliders, or modals usually rely on JavaScript. Review the included JS files to understand how events are triggered, and modify functionality as needed. Always test changes in a browser to confirm responsiveness and usability.
Organizing Your UI Kits Library
As you collect more UI kits—especially with access to 45+ resources on platforms like EpicPxls—organization becomes critical. Create a dedicated directory on your local machine or cloud storage labeled “UI Kits” and subdivide it by category: e.g., “Dashboards,” “Landing Pages,” “E-Commerce.” Within each folder, keep the original download, a README file with usage notes, and any modified versions you create.
Use consistent naming conventions such as ui-kit-name_v1.2_html.zip to track versions and formats. Maintain a master spreadsheet or digital notebook listing each kit, its source, license type, and key components. This helps you quickly locate a navigation bar or form style without unpacking multiple archives.
For team environments, consider using a shared drive or version control system like Git to manage updates and contributions. Document which kits are approved for production use to maintain design consistency across projects.
Exporting for Production
Before deploying a website that uses a UI kit, optimize all assets for performance. Minify CSS and JavaScript files using tools like UglifyJS or CSSNano to reduce file size. Compress images with tools such as TinyPNG or Squoosh, and prefer SVG for icons and logos to ensure crisp rendering at any resolution.
Choose the right export settings based on your deployment target. For web, use modern formats like WebP for images and ensure CSS is loaded efficiently—either inline for critical styles or asynchronously for non-essential components. If the UI kit includes animations, verify they are smooth and do not impact page load times.
For mobile-responsive sites, test components on various screen sizes and use media queries to adjust layouts when necessary. Some UI kits come with built-in responsiveness; others may require manual adjustments to flexbox or grid settings. Print-specific styling should be handled via a separate print.css file, hiding non-essential elements like navigation and ads.
Always review licensing terms before publishing. Most kits from EpicPxls allow commercial use, but attribution may be required. Keep a copy of the license file with your project for compliance.
Troubleshooting Common HTML Issues
File Won't Open
If you’re unable to open a UI kit file, the issue may stem from format or software compatibility. Design files (PSD, AI, Figma) require specific applications—Photoshop, Illustrator, or the Figma web app—while HTML components need a text editor and browser. Ensure you’re using updated software versions, as older ones may not support newer file formats. If the kit includes JSON or template files, verify they are not corrupted during download by re-extracting or re-downloading from EpicPxls.
Missing Fonts or Assets
Missing fonts are a frequent problem when fonts aren’t embedded or licensed for web use. If custom fonts fail to load, check the CSS @font-face declarations and confirm font files are in the correct directory. As a fallback, replace proprietary fonts with Google Fonts by linking the stylesheet in your HTML and updating font-family values. For missing icons or images, verify relative paths and ensure file names match exactly—including case sensitivity. Some kits use icon fonts or SVG sprites; if these don’t render, include the necessary CSS or JS dependencies.
Performance Problems
Large UI kits with high-resolution images or excessive JavaScript can slow down your site. To improve performance, load only the components you need—avoid including entire libraries if you’re using just a few elements. Use browser developer tools to audit page speed and identify bottlenecks. Lazy-load images and defer non-critical scripts. If the kit uses a framework like Bootstrap, consider using a custom build to exclude unused modules. For projects with multiple kits, consolidate CSS and JS to reduce HTTP requests.
Advanced HTML Tips for UI Kits
Batch Processing
When working with multiple UI kits or large-scale projects, batch processing can save significant time. Use tools like ImageMagick or Gulp to automate image resizing, renaming, and format conversion across entire folders. For CSS, leverage PostCSS or Sass to generate multiple themes from a single set of variables. This is especially useful when maintaining brand consistency across several websites using different kits from the 45+ resources available.
Plugins and Extensions
Enhance your workflow with browser and editor plugins. VS Code extensions like Live Server allow real-time previewing of HTML changes, while Emmet speeds up HTML writing. Use browser add-ons like Stylebot or Web Developer to inspect and tweak UI kit components on live pages. For design-phase editing, Figma or Adobe XD plugins can help export assets directly to web formats, streamlining the transition from mockup to code.
Collaboration Workflows
In team settings, establish clear guidelines for using shared UI kits. Use version control systems like Git to manage changes and prevent overwrites. Define a component library in a shared repository, where approved HTML snippets and CSS classes are documented and updated. Tools like Zeroheight or Notion can host living style guides that link directly to UI kit components. When onboarding new developers, provide access to your curated collection from EpicPxls along with implementation examples and best practices. This ensures everyone follows the same design language and avoids redundant work.
Why Download from EpicPxls?
Commercial License
Use in personal and commercial projects
No Account Required
Download free resources instantly
Quality Curated
Every resource is reviewed for quality
Preview Files
See Figma and Photoshop files before downloading
Who Uses These Ui Kits?
Professionals and teams who benefit most from our collection
UI/UX Designers
Speed up your workflow with ready-to-use ui kits for HTML. Perfect for prototyping and client presentations.
Developers
Get production-ready assets without design skills. Export in any format for web and mobile apps.
Startups & Agencies
Save design budget with affordable premium ui kits. Commercial license included for client work.
Marketing Teams
Create professional campaigns faster. All ui kits are optimized for social media and ads.
UI Kits for HTML FAQCommon questions about these resources
Simple, Transparent Pricing
Get unlimited access to all premium resources
Yearly
- 20 downloads per month
- All file formats
- Commercial license
Lifetime
- Unlimited downloads forever
- All file formats
- Commercial license
Ready to Get Started?
Access 4,441+ free design resources today.
Browse Free ResourcesView Premium PlansEarn 85% and
more on all sales
Upload your products and put them up
for sale at whatever price you want.

