How to Use Mockups in Figma: Complete Guide
EpicPxls offers 27+ curated mockups for Figma, all with a commercial license and editable source files (Figma, Sketch, PSD). Download your chosen mockups from EpicPxls, then use Figma's import function. Most resources include Figma-native files for seamless opening.
Last updated February 13, 2026
Everything you need to know about using mockups in Figma.
Trusted by designers at leading companies
Top Mockups for Figma
Handpicked resources from our curated collection


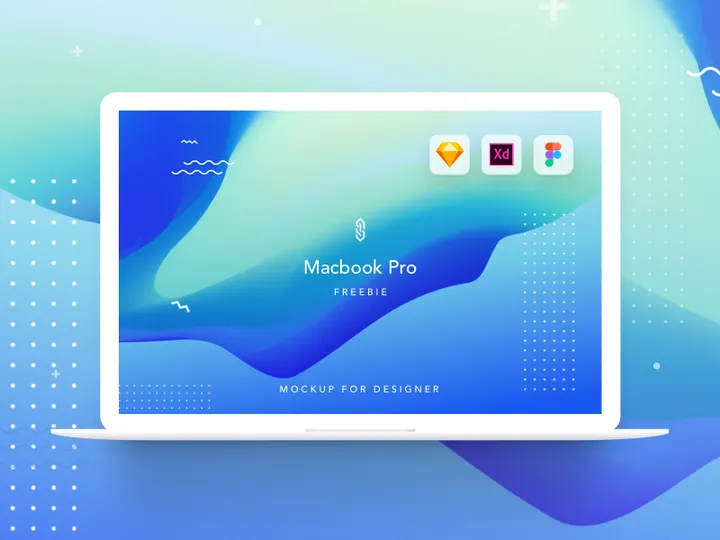
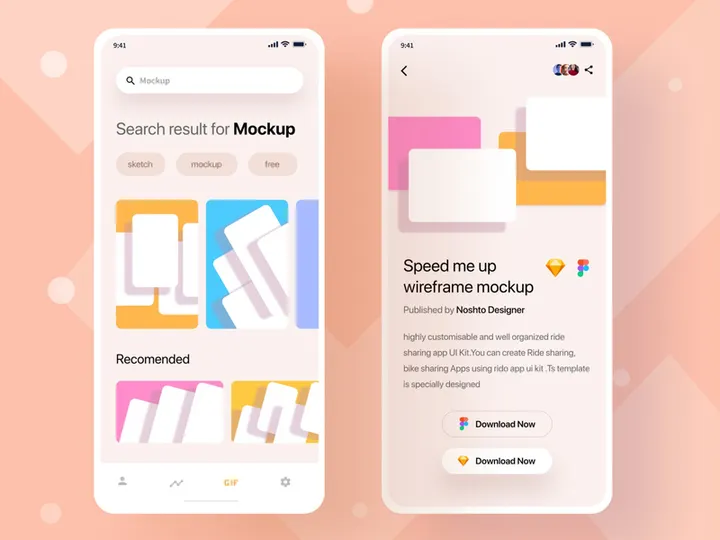
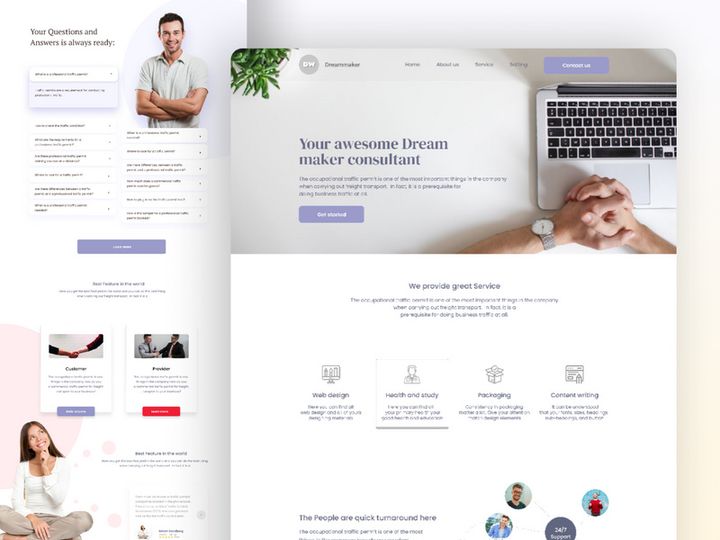
![[FREE] Glassmorphism mockup preview picture](https://imgproxy.epicpxls.com/GxpV5bx7FxCUBEPxEgIsnXvjYzw_aX1BIm1JXga3OAA/rs:fill:720:540:0/g:no/aHR0cHM6Ly9pdGVt/cy5lcGljcHhscy5j/b20vdXBsb2Fkcy9w/aG90by9mODNiMWI1/ODI3NDBjM2VhZjI2/NWIwNTJmN2E5MDgz/Zg.jpg)

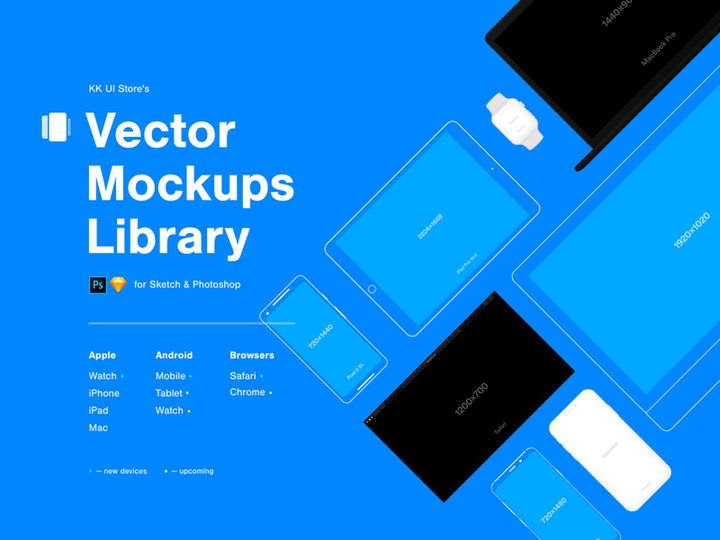
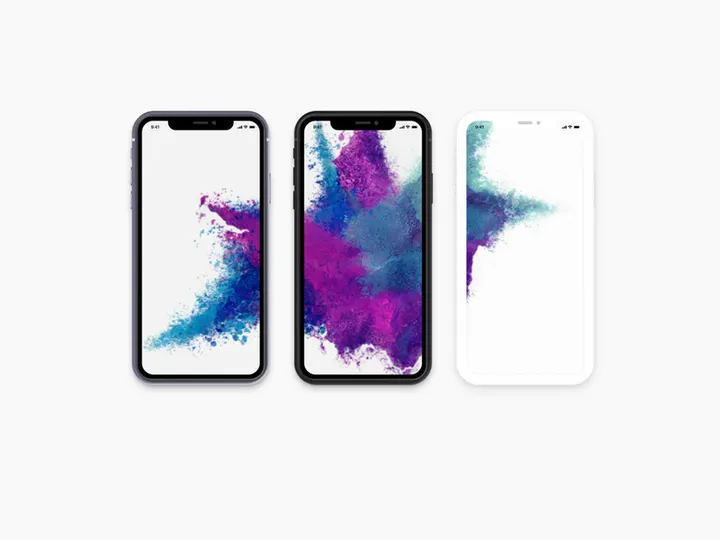
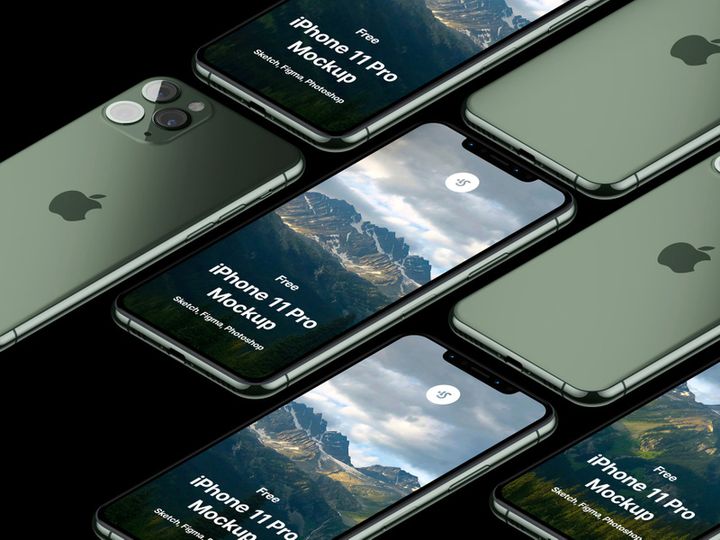
![Futuristic Device Mockup [Figma] preview picture](https://imgproxy.epicpxls.com/7sc-4_AG7MFfwF8nnSpfx3y2WQkD4KposvgBds2sun0/rs:fill:720:540:0/g:no/aHR0cHM6Ly9pdGVt/cy5lcGljcHhscy5j/b20vdXBsb2Fkcy9w/aG90by85OTgzOTdl/NWMyZDQzNTMwZjEz/ZDUyMGQ3MTI1OTdm/ZA.jpg)


Try Our Free Resources
Download any of these for free - no account required
![[FREE] Glassmorphism mockup](https://items.epicpxls.com/uploads/photo/dc3d2d38a9c2ccca208a147062914227)


Getting Started with Mockups in Figma
Mockups are essential tools for designers aiming to present their digital and print designs in realistic, context-aware environments. Figma has emerged as one of the most powerful and accessible design platforms, making it easier than ever to integrate high-quality mockups directly into your workflow. Whether you're designing websites, mobile apps, or branding materials, using mockups in Figma allows you to visualize your work as it would appear in real-world use—on devices, packaging, business cards, or even in interior spaces.
Before diving into using mockups, ensure you have a Figma account—either personal or team-based—and access to the Figma desktop app or web browser version. Figma works seamlessly across devices, so you can design on any system with internet access. No additional software is required to use mockups, although having a basic understanding of Figma’s interface—layers, frames, components, and plugins—will help you make the most of your mockup experience.
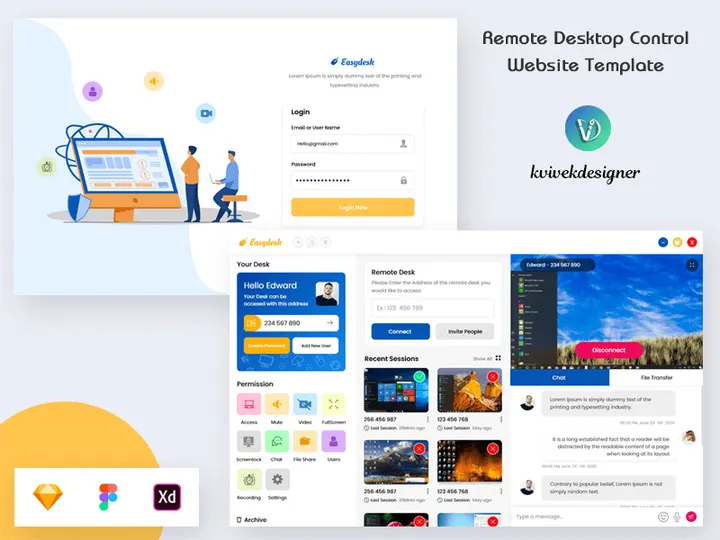
Finding high-quality, Figma-compatible mockups is crucial. Many design marketplaces offer mockups in various formats such as PSD, AI, or Sketch, but not all translate smoothly into Figma. Look for mockups explicitly labeled as “Figma-ready” or “Figma-compatible” to ensure seamless integration. One of the best sources for such resources is EpicPxls, which offers a robust collection of over 27+ professionally crafted mockups designed specifically for Figma. These include device mockups, stationery presentations, apparel templates, and lifestyle scenes—perfect for portfolio presentations or client pitches.
The 27+ resources available on EpicPxls are carefully optimized for Figma’s vector-based environment, meaning they load quickly, scale without quality loss, and support non-destructive editing. Most include smart objects or placeholder layers that allow you to insert your designs with just a few clicks. By starting with the right tools, you set a strong foundation for efficient, visually compelling design workflows.
How to Import Mockups into Figma
- Download the correct file format: When sourcing mockups, always check if the file is available in .FIG format—the native Figma file type. If only PSD, AI, or Sketch files are available, you may need to convert them. However, for best results, choose mockups downloaded directly as Figma files. Resources from EpicPxls often include Figma versions to eliminate compatibility issues from the start.
- Access the Figma interface: Log in to your Figma account via the web or desktop app. Open the project or create a new file where you want to import the mockup.
- Import via drag-and-drop: Simply drag the downloaded .FIG file from your computer into the Figma workspace. Figma will automatically open and embed the file into your current project as a new page or frame.
- Use the “Import” function: Alternatively, click on the file menu, select “Import,” and browse your system to locate the mockup file. This method is especially helpful when handling multiple assets at once.
- Handle non-Figma formats: If you're working with a PSD or AI file, you’ll need to either use a conversion tool or open the file in its native software (e.g., Photoshop or Illustrator) and export layers as SVG or PNG, then import them into Figma. Note that this process may result in loss of layer structure or smart object functionality.
- Verify content integrity: After import, inspect the mockup for missing fonts, broken links, or flattened layers. Expand the layers panel to ensure all groups and components are intact. If the mockup includes a “Smart Object” or “Drop Your Design Here” layer, confirm it’s editable and properly aligned within the frame.
By following these steps, you ensure your mockups are imported accurately and efficiently. With over 27+ resources available, including versatile templates from EpicPxls, designers can quickly build a library of reusable, high-fidelity mockups tailored to their specific projects.
Step-by-Step: Working with Mockups in Figma
Editing Layers and Components
One of the biggest advantages of using mockups in Figma is the ability to edit them non-destructively. Most modern Figma mockups are built with organized layers and use components or vector masks to allow for easy customization. After importing your mockup, open the Layers panel on the left to explore its structure. Look for clearly labeled layers such as “Screen,” “Insert Design Here,” or “Replace Image.”
To insert your design, locate the target frame or masked layer. Drag and drop your design file (e.g., a website layout or app screen) directly into the designated area. Figma will automatically clip it to the mask. You can also resize or reposition your design within the mask to ensure perfect alignment. For text-based mockups like business cards or flyers, double-click the text layer to edit content, then adjust font, size, or color using Figma’s text tools. Remember to use components whenever possible—this allows you to update multiple instances of the same mockup across your file with a single change.
Organizing Your Mockups Library
As your collection grows, keeping mockups organized becomes essential. Create a dedicated Figma file titled “Mockups Library” and use pages to categorize resources—e.g., “Devices,” “Print,” “Apparel,” “Lifestyle.” Within each page, use frames to display individual mockups. Label each frame clearly (e.g., “iPhone 15 Mockup – Black”) and consider adding notes about usage or customization tips.
Leverage Figma’s team library features to share mockups across your organization. Components saved to the team library can be reused across projects, ensuring consistency and saving time. If you're using multiple resources from EpicPxls, group similar mockups together and tag them with keywords for faster retrieval. A well-structured library not only improves personal workflow but also enhances collaboration.
Exporting for Production
Once your design is placed within the mockup, exporting is the final step before presentation or handoff. Select the frame containing your completed mockup, then navigate to the “Export” section in the right-hand properties panel. Choose the appropriate format: PNG for high-quality visuals with transparency, JPG for smaller file sizes, or SVG for scalable vector graphics (ideal for web use).
For digital presentations or client reviews, export at 2x or 3x resolution to ensure crisp detail on Retina displays. For print, ensure your mockup is at 300 DPI and in CMYK color mode—though Figma primarily uses RGB, you can adjust color profiles during export via third-party tools if needed. Use the “Only Visible Layers” option to exclude hidden guide layers or annotations. Exporting multiple mockups? Use Figma’s batch export feature by selecting all relevant frames and applying the same export settings across them.
Troubleshooting Common Figma Issues
File Won't Open
If a mockup fails to open in Figma, the most common causes are file format incompatibility or version conflicts. Ensure the file is in .FIG format and not corrupted during download. Older Figma files created in previous versions may require updating—Figma usually prompts you to convert them automatically. If the file originated from another design tool and was converted, some layer structures may not translate properly. In such cases, contact the provider or download a native Figma version if available. Many of the 27+ resources from EpicPxls are updated regularly to maintain compatibility with the latest Figma features.
Missing Fonts or Assets
Figma will notify you if fonts used in the mockup aren’t installed on your system. To resolve this, check the mockup’s documentation for required fonts—many use free, web-accessible typefaces like Inter, Roboto, or Montserrat, which you can install from Google Fonts. Replace missing fonts manually by selecting the text layer and choosing an available alternative. For missing images or embedded assets, the mockup may include placeholder links or instructions. If assets were excluded due to licensing, you may need to insert your own images. Always review the license agreement included with your mockup pack to ensure compliance.
Performance Problems
Large mockup files—especially those with high-resolution textures or numerous layers—can slow down Figma, particularly on older hardware or with limited internet bandwidth. To improve performance, collapse unused layers in the Layers panel and detach instances from components if you don’t need live updates. Avoid embedding extremely large images directly into mockups; instead, use lower-resolution proxies during design and swap in high-res versions only at export. Consider breaking large mockup libraries into multiple files rather than one overloaded document. This modular approach keeps Figma responsive and makes collaboration smoother.
Advanced Figma Tips for Mockups
Batch Processing
When working on large-scale projects—such as presenting an entire app across multiple devices—manually updating each mockup is time-consuming. Use Figma’s batch processing capabilities to streamline this. Create a master component for your core design (e.g., a mobile app screen), then place it into multiple device mockups. When you update the master component, all instances update automatically. This ensures consistency and dramatically reduces revision time. For designers using multiple templates from the 27+ resources on EpicPxls, this method is invaluable for maintaining brand alignment across varied presentations.
Plugins and Extensions
Figma’s plugin ecosystem enhances mockup workflows significantly. Use plugins like “Unsplash” to quickly populate mockups with placeholder imagery, or “Content Reel” to insert realistic text, avatars, and icons. The “Auto Layout” plugin helps adjust mockup frames dynamically, while “Image Tracker” alerts you to missing or broken image links. Search the Figma community plugins for “mockup” to discover tools that automate masking, shadow effects, or perspective transformations. These integrations turn static templates into dynamic, responsive design tools.
Collaboration Workflows
Figma shines in team environments. Share your mockup library with teammates by publishing components to your team’s design system. Set up commenting and version history to track feedback and iterations. When multiple designers are using the same mockups—such as in agency or product teams—establish naming conventions and access permissions to avoid conflicts. Use Figma’s “View” or “Comment” modes to present mockups to clients without allowing unintended edits. For organizations relying on high-quality presentation assets, integrating curated resources like those from EpicPxls into a shared library ensures everyone uses professional, on-brand visuals.
Why Download from EpicPxls?
Commercial License
Use in personal and commercial projects
No Account Required
Download free resources instantly
Quality Curated
Every resource is reviewed for quality
Preview Files
See Figma and Photoshop files before downloading
Who Uses These Mockups?
Professionals and teams who benefit most from our collection
UI/UX Designers
Speed up your workflow with ready-to-use mockups for Figma. Perfect for prototyping and client presentations.
Developers
Get production-ready assets without design skills. Export in any format for web and mobile apps.
Startups & Agencies
Save design budget with affordable premium mockups. Commercial license included for client work.
Marketing Teams
Create professional campaigns faster. All mockups are optimized for social media and ads.
Mockups for Figma FAQCommon questions about these resources
Simple, Transparent Pricing
Get unlimited access to all premium resources
Yearly
- 20 downloads per month
- All file formats
- Commercial license
Lifetime
- Unlimited downloads forever
- All file formats
- Commercial license
Ready to Get Started?
Access 4,441+ free design resources today.
Browse Free ResourcesView Premium PlansEarn 85% and
more on all sales
Upload your products and put them up
for sale at whatever price you want.

