How to Use Icons in Figma: Complete Guide
EpicPxls offers 94+ curated icons for Figma, all with a commercial license and editable source files (Figma, Sketch, PSD). Download your chosen icons from EpicPxls, then use Figma's import function. Most resources include Figma-native files for seamless opening.
Last updated February 13, 2026
Everything you need to know about using icons in Figma.
Trusted by designers at leading companies
Top Icons for Figma
Handpicked resources from our curated collection


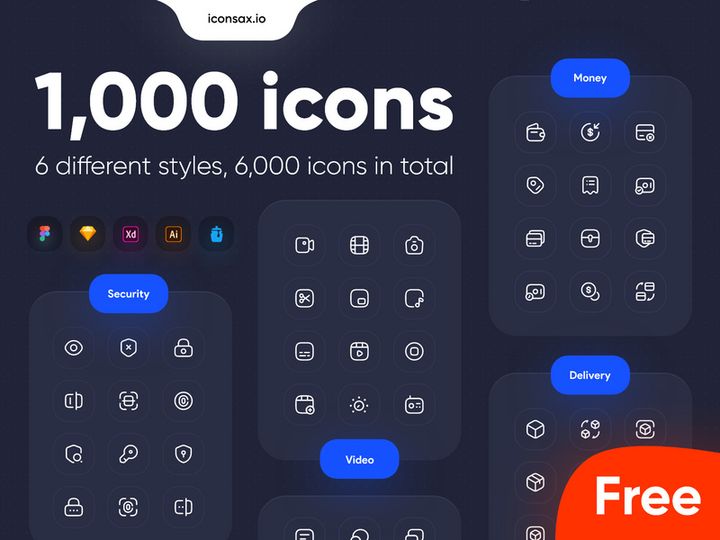
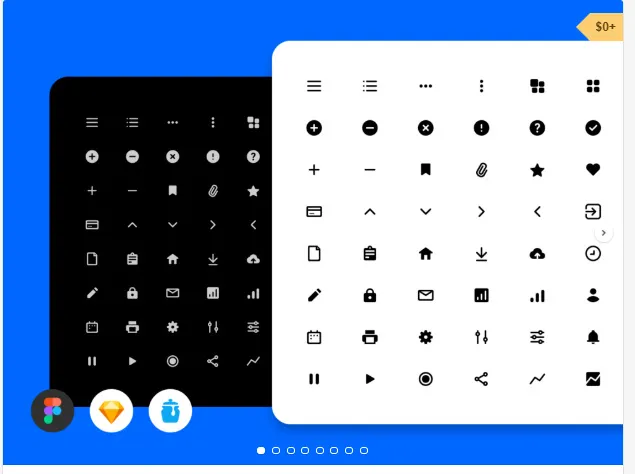
![Free 6000+ Icons [Figma] preview picture](https://imgproxy.epicpxls.com/uUauXZtLPZN2gyuKVtsZYdkCDcjSdp5MDFoNQBy3Q30/rs:fill:720:540:0/g:no/aHR0cHM6Ly9pdGVt/cy5lcGljcHhscy5j/b20vdXBsb2Fkcy9w/aG90by9kNmFhZjJm/MzQzMzk2OWI5MDFk/OWNjZjA1MGYwMDA5/Yw.jpg)


![Photoshop Icon Pack [Free SVG,PNG] preview picture](https://imgproxy.epicpxls.com/J-z-x9Sjo5KH35FFUojQEsF0BqZjGvGgFkaTfPN_7b8/rs:fill:720:540:0/g:no/aHR0cHM6Ly9pdGVt/cy5lcGljcHhscy5j/b20vdXBsb2Fkcy9w/aG90by8yYzI0ZWM3/ZjNhYjhhYWJiNzU3/YzAxM2Y2NWI1MmQ1/ZA.jpg)
![SWM Icon Pack [300 Figma icons] preview picture](https://imgproxy.epicpxls.com/CBFePP2DUXApBwckrwS5nD00uA_ZoHyeAEhKY08IP20/rs:fill:720:540:0/g:no/aHR0cHM6Ly9pdGVt/cy5lcGljcHhscy5j/b20vdXBsb2Fkcy9w/aG90by82ZWRkNjRl/OWNiMTcwMzU0N2Y3/ZWVmOGNmZWNhNzBk/Zg.jpg)


Try Our Free Resources
Download any of these for free - no account required


![Free 6000+ Icons [Figma]](https://items.epicpxls.com/uploads/photo/d2c7f9b69f8c8d574b151b4227b4eb25)
Getting Started with Icons in Figma
Using icons in Figma is a powerful way to enhance your design workflow, improve visual communication, and create intuitive user interfaces. Before diving into the process, it’s essential to ensure your environment is set up for success. First, make sure you have a stable internet connection and access to a modern web browser or the Figma desktop app. Figma is browser-based, so no heavy installation is required—just create a free account at figma.com to get started.
Once your Figma account is ready, the next step is sourcing high-quality icons. The platform supports a wide range of icon formats, but SVG and native Figma files are the most efficient for seamless integration. You can find compatible icons from design marketplaces, open-source libraries, and curated collections tailored for UI/UX work. A reliable source like EpicPxls offers a diverse selection of professionally designed icons that are optimized for Figma, ensuring crisp visuals and scalability.
EpicPxls currently provides access to 94+ resources, including icon packs, UI kits, and vector assets, all built with designers in mind. These resources are meticulously organized, making it easy to find the right icons for mobile apps, websites, dashboards, and more. Whether you need social media icons, navigation symbols, or industry-specific graphics, the variety within these 94+ resources ensures you’ll find exactly what you need without compromising on style or quality.
Before downloading, check that the icon pack includes Figma-compatible files or SVGs for the smoothest integration. Look for packs that support multiple weights, sizes, and customization options. With the right setup and a dependable source like EpicPxls, you’re well on your way to incorporating professional icons into your Figma projects efficiently and effectively.
How to Import Icons into Figma
- Choose the Right File Format: When downloading icons, always opt for SVG or native Figma (.fig) files when available. SVGs preserve vector quality and scale perfectly, while Figma files retain layers, components, and styles. If only PSD or AI files are offered, use Illustrator or online converters to export them as SVG first.
- Download from a Trusted Source: Visit EpicPxls and browse the 94+ resources to find an icon pack that fits your project. Download the ZIP file and extract it to a dedicated folder on your computer for easy access.
- Open Your Figma Project: Launch Figma and open the file where you want to use the icons. You can create a new project or use an existing design file.
- Import the Icons: Drag and drop SVG files directly onto your Figma canvas. For multiple icons, you can select and import them all at once. Figma will automatically convert each SVG into a vector object you can edit.
- Use Figma Files Directly: If the icon pack is already in .fig format (like many from EpicPxls), simply open the file in Figma. You can then copy-paste individual icons or entire pages into your project.
- Verify and Organize: After importing, double-check that all icons appear correctly. Rename layers for clarity, and consider converting frequently used icons into Figma components for consistency and easier updates.
By following these steps, you ensure a smooth import process. Always test a few icons before bulk importing to confirm compatibility. For PSD or AI files, import them into Adobe Illustrator first, ungroup any compound paths, and save as SVG with “Preserve Illustrator Editing Capabilities” disabled to avoid import issues in Figma.
Step-by-Step: Working with Icons in Figma
Editing Layers and Components
Once icons are in your Figma file, the real customization begins. Select any imported icon to view its layers in the right-hand panel. Most SVGs are grouped, so ungroup them (Ctrl+Shift+G or Cmd+Shift+G) to access individual paths. This allows you to change colors, resize specific parts, or modify stroke weights.
To maintain consistency across your project, convert frequently used icons into components. Right-click the icon and choose “Create Component.” This turns it into a master instance that can be reused throughout your design. Any updates to the master—like a color change or size adjustment—will automatically reflect in all instances, streamlining your workflow.
For icon sets with multiple variants (e.g., filled, outlined, or different sizes), organize them into component variants. This lets you switch between styles directly in the instance menu, making your design system more intuitive and scalable.
Organizing Your Icons Library
With access to 94+ resources from sources like EpicPxls, managing icons effectively is crucial. Start by creating a dedicated “Icons” page in your Figma file. Use sections or frames to categorize icons by type—such as navigation, social, actions, or industry-specific sets.
Label each icon clearly and use consistent naming conventions (e.g., “icon-home-filled,” “icon-user-outline”). You can also use Figma’s auto-layout and component properties to build a searchable, filterable icon library. For team projects, publish your icon library as a shared design system so all members can access and use the same assets.
Consider using Figma’s “Local Components” feature to keep your icon library independent yet reusable. This prevents unintended edits and ensures visual consistency across multiple files and team members.
Exporting for Production
When your design is finalized, exporting icons correctly is key for development handoff. Select the icon or frame you want to export, then go to the “Export” section in the right panel. Figma supports multiple export formats, including PNG, SVG, and JPEG.
For web and mobile apps, SVG is ideal—it’s lightweight, scalable, and supports interactivity. Export at 1x for standard resolution, and add 2x or 3x if high-DPI displays are a concern. Make sure “Include in Export” is enabled on the layers you want to output.
For print or presentations, use PNG at 300 DPI for crisp results. Name your exported files clearly (e.g., “icon-heart-red-24px.svg”) to help developers integrate them quickly. You can also use Figma’s “Export Settings” presets to save time across multiple icons.
Pro tip: Use Figma’s “Selection Export” feature to batch-export multiple icons at once. Group them in a frame, set the export settings, and Figma will generate all files with one click.
Troubleshooting Common Figma Issues
File Won't Open
If a downloaded icon file won’t open in Figma, the issue may stem from version incompatibility or unsupported formats. Figma only supports .fig, .svg, .png, .jpg, and .pdf natively. If you’re trying to open a PSD or AI file directly, it won’t work—convert it to SVG first using Illustrator or an online tool. Also, ensure the file wasn’t corrupted during download. Re-download from EpicPxls if necessary, and verify it’s from the 94+ resources list, which are pre-checked for compatibility.
Missing Fonts or Assets
While icons typically don’t rely on fonts, some packs include text labels or use icon fonts. If you see placeholder boxes or missing glyphs, it means a font isn’t loaded. In Figma, hover over the missing text layer and click “Show Fonts” to install the required typeface. For SVGs, ensure all paths are converted to outlines before import—this prevents dependency on external fonts. When using third-party icon packs, always check if they include a license and font usage guide.
Performance Problems
Large icon libraries or complex SVGs with excessive anchor points can slow down Figma. To improve performance, simplify paths using Figma’s “Vector Networks” editor or clean up the SVG code before importing. Avoid importing unused icons—only bring in what you need. Use Figma’s “Detach Instance” sparingly, as it multiplies layers and increases file size. For teams, break large icon libraries into smaller, topic-based files and link them via team libraries to maintain speed and usability.
Advanced Figma Tips for Icons
Batch Processing
When working with dozens of icons, manual edits can be time-consuming. Use Figma’s “Find and Replace” feature to change colors, stroke widths, or effects across multiple icons at once. For bulk resizing, group icons in a frame with auto-layout and adjust the frame size—icons will scale proportionally. You can also use constraints to control how icons behave when resized within buttons or navigation bars.
Plugins and Extensions
Enhance your icon workflow with Figma plugins. Search the Figma Community for tools that help with icon management, such as SVG optimizers, color swappers, or grid aligners. Plugins like “Iconify” or “SVGOMG” integrate directly into Figma and help streamline imports, exports, and optimizations. Many of the 94+ resources on EpicPxls are compatible with popular plugins, making it easier to maintain design consistency and efficiency.
Collaboration Workflows
For team projects, establish a shared icon library using Figma’s Team Library feature. Upload approved icons from EpicPxls as components so all designers can access the same assets. Set up version control by documenting updates and using descriptive component names. Enable commenting and permissions to ensure only designated team members can edit master components. This prevents duplication and maintains brand consistency across projects, especially when multiple designers are working on different parts of the same app or website.
Why Download from EpicPxls?
Commercial License
Use in personal and commercial projects
No Account Required
Download free resources instantly
Quality Curated
Every resource is reviewed for quality
Preview Files
See Figma and Photoshop files before downloading
Who Uses These Icons?
Professionals and teams who benefit most from our collection
UI/UX Designers
Speed up your workflow with ready-to-use icons for Figma. Perfect for prototyping and client presentations.
Developers
Get production-ready assets without design skills. Export in any format for web and mobile apps.
Startups & Agencies
Save design budget with affordable premium icons. Commercial license included for client work.
Marketing Teams
Create professional campaigns faster. All icons are optimized for social media and ads.
Icons for Figma FAQCommon questions about these resources
Simple, Transparent Pricing
Get unlimited access to all premium resources
Yearly
- 20 downloads per month
- All file formats
- Commercial license
Lifetime
- Unlimited downloads forever
- All file formats
- Commercial license
Ready to Get Started?
Access 4,441+ free design resources today.
Browse Free ResourcesView Premium PlansEarn 85% and
more on all sales
Upload your products and put them up
for sale at whatever price you want.

