How to Use Mockups in Adobe XD: Complete Guide
EpicPxls offers 25+ curated mockups for Adobe XD, all with a commercial license and editable source files (Figma, Sketch, PSD). Download your chosen mockups from EpicPxls, then use Adobe XD's import function. Most resources include Adobe XD-native files for seamless opening.
Last updated February 13, 2026
Everything you need to know about using mockups in Adobe XD.
Trusted by designers at leading companies
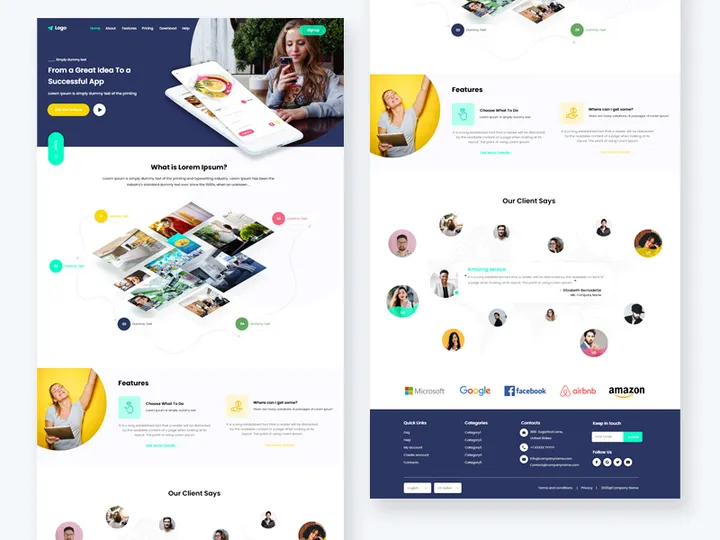
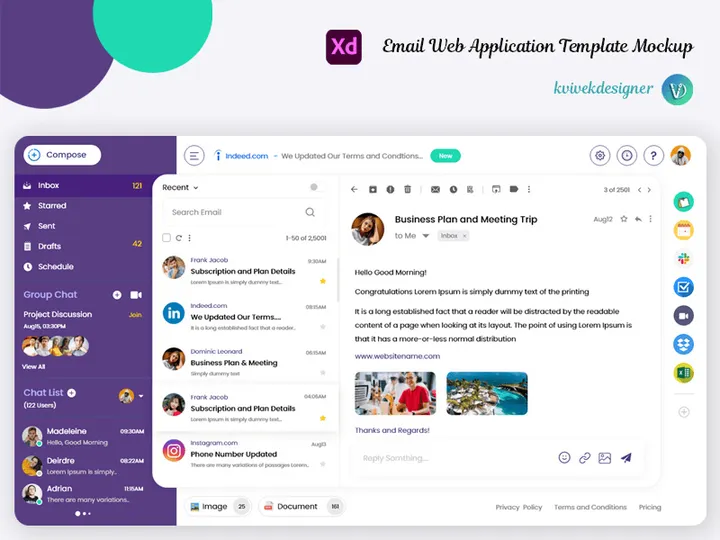
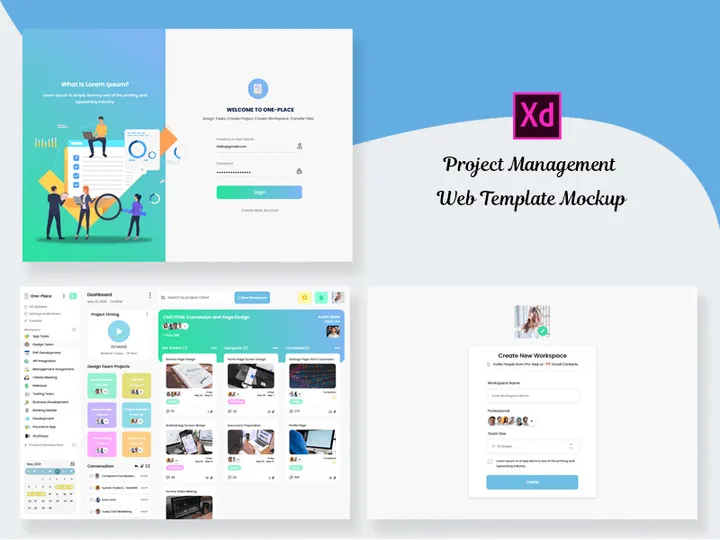
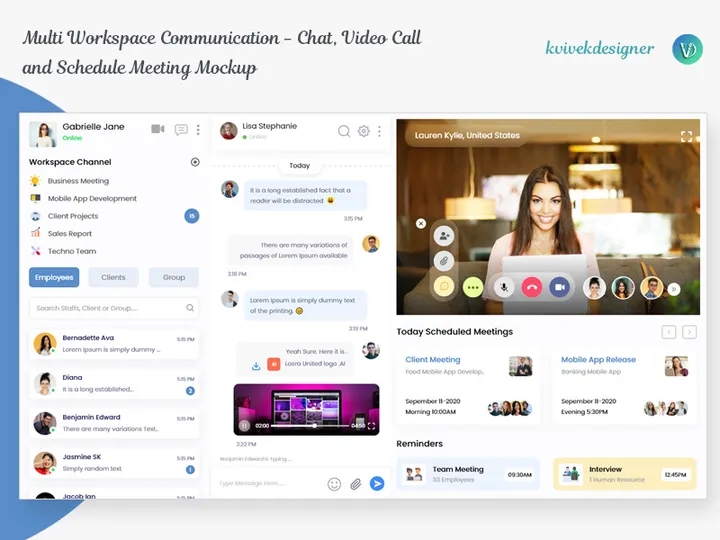
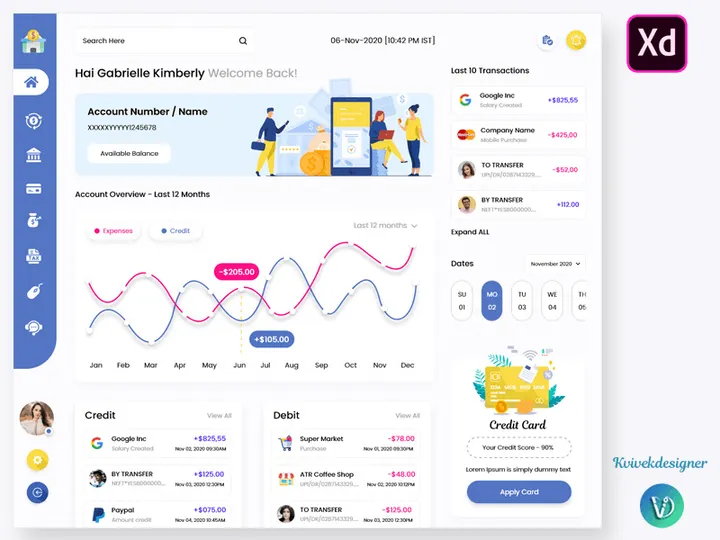
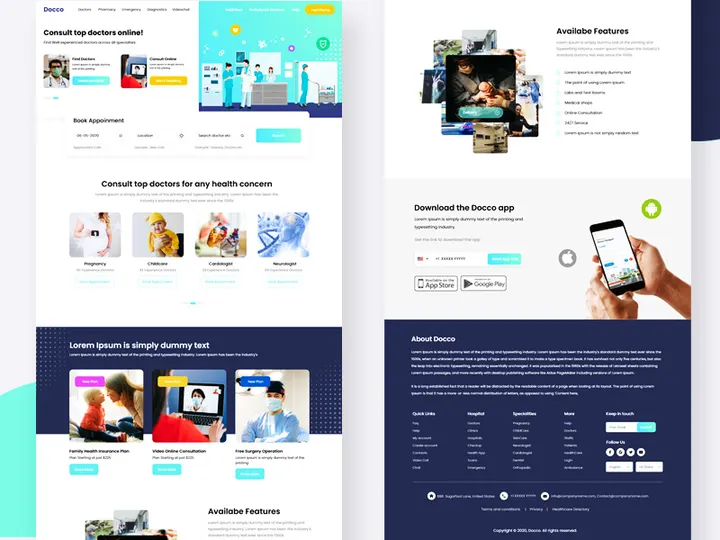
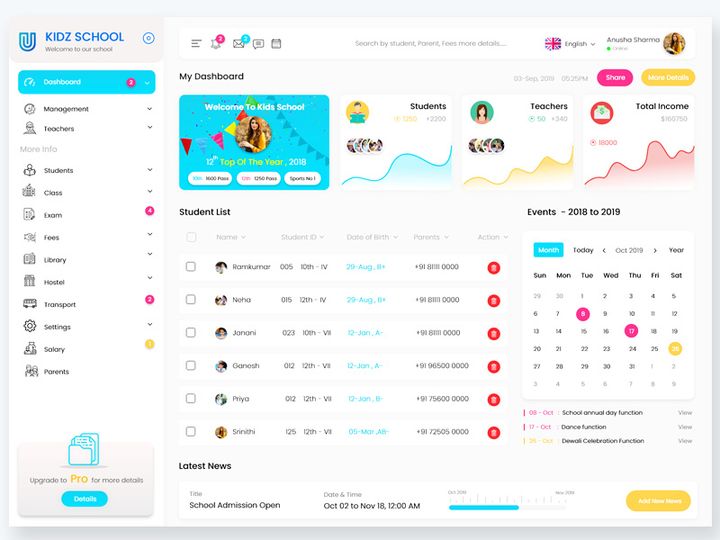
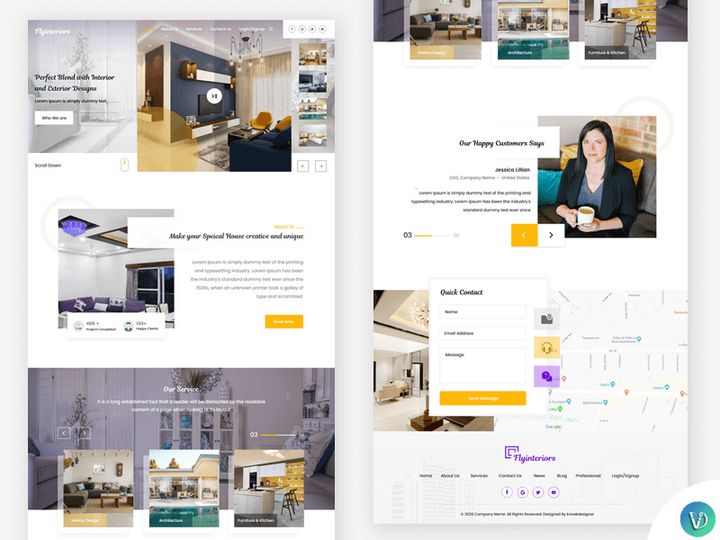
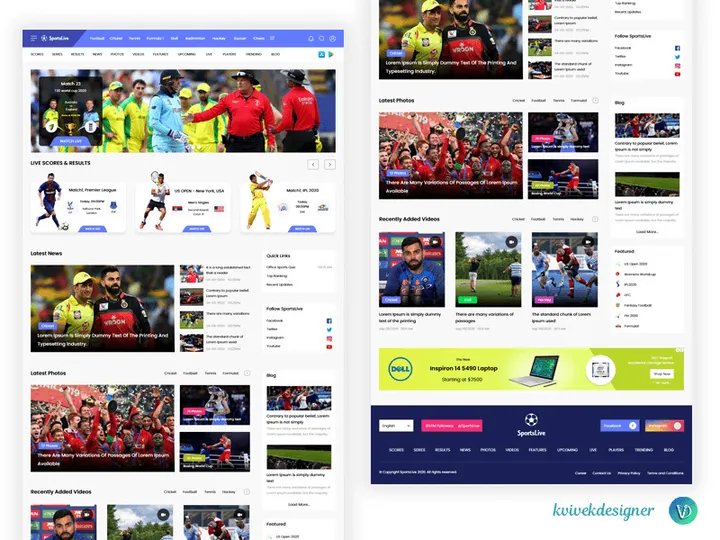
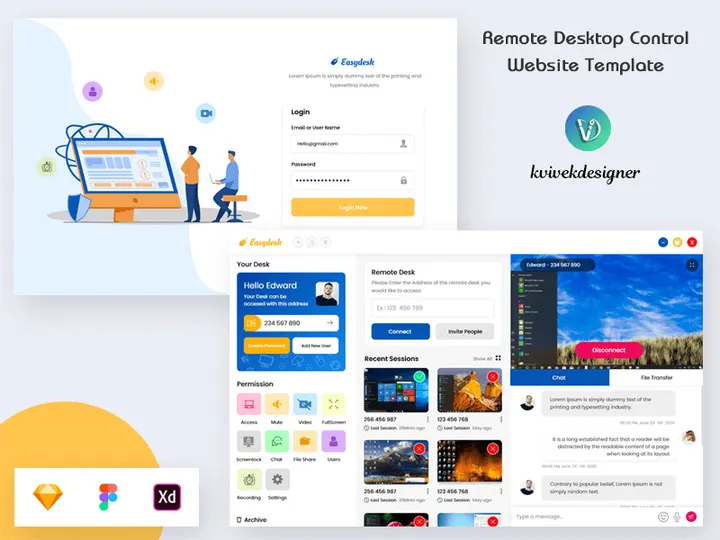
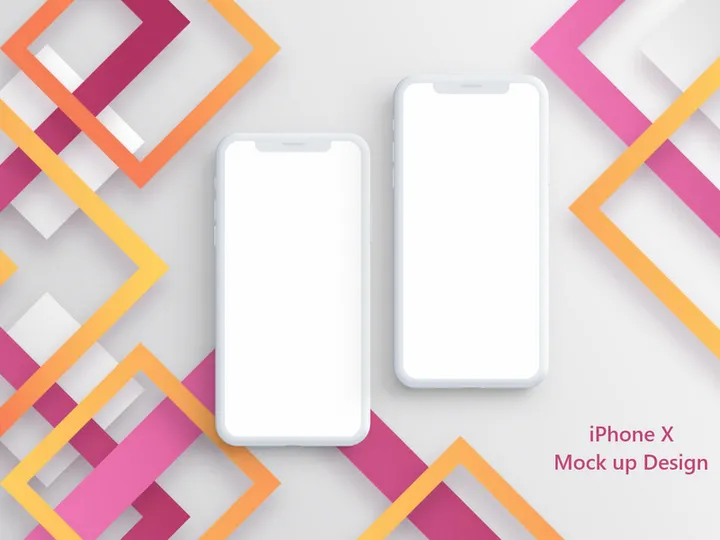
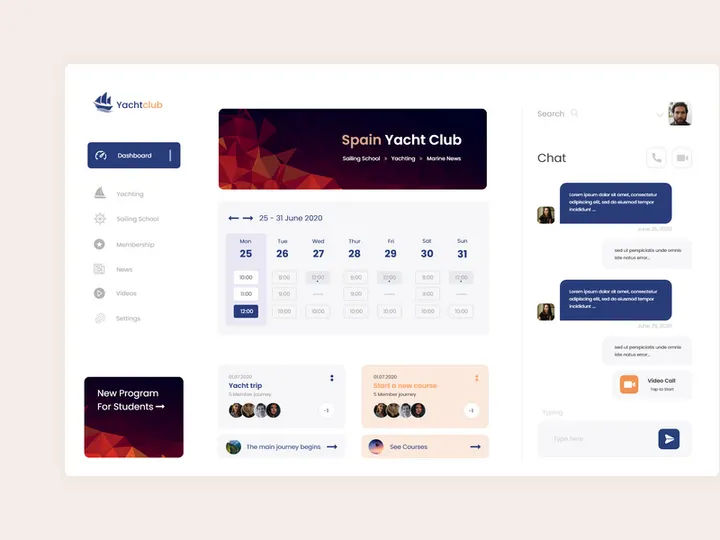
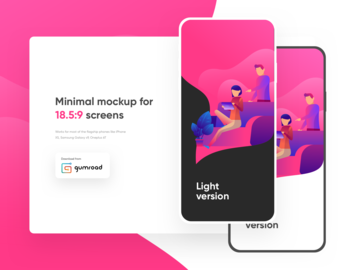
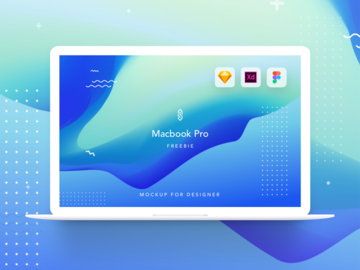
Top Mockups for Adobe XD
Handpicked resources from our curated collection


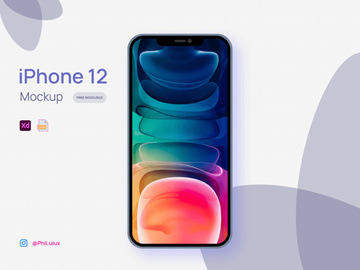
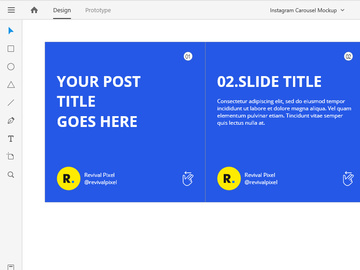
Try Our Free Resources
Download any of these for free - no account required

Getting Started with Mockups in Adobe XD
Adobe XD has become a powerful tool for UI/UX designers seeking to streamline their design process, and integrating mockups is a key component of creating compelling, realistic presentations. Before diving into how to use mockups, it's essential to ensure your Adobe XD environment is properly set up. Make sure you have the latest version of Adobe XD installed from the Creative Cloud application. Keeping your software up to date ensures compatibility with modern file formats, access to new features, and improved performance when handling complex designs.
To begin using mockups, you’ll need access to high-quality, XD-compatible files. While some designers create mockups from scratch, downloading pre-made mockups saves time and maintains professional standards. Many online platforms offer mockups specifically tailored for Adobe XD, but not all provide optimized, layered files that allow for easy editing. One excellent resource is EpicPxls, which offers a curated collection of over 25+ professionally designed mockups compatible with Adobe XD. These resources include device mockups, app screens, presentation templates, and more—perfect for showcasing your designs in real-world contexts.
The 25+ resources available on EpicPxls are thoughtfully organized and delivered in formats that integrate seamlessly into Adobe XD. Whether you're designing a mobile app, website, or digital ad, these mockups help visualize your work with precision. Each file is typically layered, named logically, and includes smart object placeholders, making customization straightforward. Before importing any mockup, check its documentation to confirm compatibility with your version of Adobe XD and verify that the file includes all necessary assets like fonts, icons, and image placeholders. With the right setup and access to a reliable source like EpicPxls, you're ready to bring your designs to life using professional mockups.
How to Import Mockups into Adobe XD
- Choose the Right File Format: Most mockups designed specifically for Adobe XD will come in the .xd format, which ensures full compatibility. However, some sources may offer mockups in other formats such as PSD (Photoshop), AI (Illustrator), SVG, or even Figma files. Always check the file type before downloading. For seamless integration, prioritize .xd files when available.
- Download from a Trusted Source: Visit a reputable platform like EpicPxls to download your desired mockup. With over 25+ resources available, you can find mockups suited for various use cases—from smartphones and tablets to desktop monitors and wearable devices. Ensure the download package includes instructions and any linked assets.
- Extract the Downloaded File: Mockups are often delivered in compressed ZIP folders. Extract the contents to a dedicated project folder on your computer for easy access and organization.
- Open Adobe XD and Import the File: Launch Adobe XD, then go to File > Open and navigate to your extracted .xd file. Click "Open" to load the mockup into the workspace. If the mockup is in another format (like PSD or AI), you may need to import it via File > Place and select the file. Note that imported non-.xd files may have limited editability.
- Verify Layer Structure: Once imported, open the Layers panel (on the right) to inspect the file’s structure. Well-organized mockups will have clearly labeled layers, groups, and smart objects. Look for placeholder layers where your design will be inserted—often marked with labels like “Insert Design Here” or “Screen Placeholders.”
- Link Missing Assets (if needed): If you imported a file from another design tool, some fonts or images might not appear correctly. Adobe XD will prompt you to relink missing fonts or replace images. Use this opportunity to ensure all visual elements match your brand or project requirements.
By following these steps, you can efficiently import and prepare any mockup for customization in Adobe XD. The growing library of 25+ resources on platforms like EpicPxls ensures you’ll always find a suitable template, whether for client presentations, portfolio work, or team reviews.
Step-by-Step: Working with Mockups in Adobe XD
Editing Layers and Components
One of the greatest strengths of using mockups in Adobe XD is the ability to customize them without starting from scratch. Once a mockup is imported, you can begin editing individual layers to reflect your design. Start by selecting the placeholder layer—usually a rectangle or image frame within a device screen. Replace it by copying your design artboard and pasting it directly over the placeholder, then resize and align it to fit perfectly. You can also use the Place feature to insert your design as a linked image.
Adobe XD supports vector editing, so if the mockup includes scalable elements like icons or text, you can modify stroke weight, color, and shape directly. Use the Properties panel to adjust fills, opacity, and effects like drop shadows or blurs to match your design aesthetic. For text layers, double-click to edit content and change fonts, but be mindful of licensing—replace any missing fonts with system or web-safe alternatives. Components and repeat grids in XD make it easy to update multiple instances at once, which is helpful when applying consistent changes across several mockup variations.
Organizing Your Mockups Library
As you collect and use more mockups, maintaining an organized library becomes crucial. Create a dedicated folder on your system named “XD Mockups” and subdivide it by category—e.g., Mobile Devices, Desktop Screens, Presentations, Wearables. Save each customized mockup with a clear naming convention such as “iPhone15-AppDashboard-V2.xd” to avoid confusion later.
Within Adobe XD, use artboards to group related mockups. For example, if you’re presenting a mobile app, create separate artboards for each screen within the same file. Add labels or notes using text layers to indicate version history or client feedback. Consider creating a master XD file that acts as your personal mockup repository, linking to your most-used templates. This central hub streamlines access and reduces the need to constantly search through downloads. With 25+ resources available from sources like EpicPxls, a well-structured library ensures you can locate and reuse assets efficiently.
Exporting for Production
Once your mockup is finalized, it’s time to export it for sharing or presentation. Adobe XD offers flexible export options under the Export tab. Select the artboard or layer you want to export, then choose the desired format: PNG for high-quality raster images, JPG for smaller file sizes, or SVG for scalable vector graphics (ideal for web use).
For web or mobile presentations, export at 1x or 2x resolution to balance clarity and file size. If the mockup is intended for print, ensure it’s at least 300 DPI—though Adobe XD is primarily a screen design tool, you can export high-resolution PNGs suitable for printed materials like brochures or posters. Use the “Range” option to export multiple artboards at once, and consider organizing them into a PDF for client deliverables. Always preview your exported files before sharing to confirm colors, alignment, and resolution meet expectations. Proper exporting ensures your mockups look professional across all platforms and mediums.
Troubleshooting Common Adobe XD Issues
File Won't Open
If an Adobe XD mockup fails to open, the most common cause is version incompatibility. Older versions of XD may not support files saved in newer formats. Always update Adobe XD via the Creative Cloud app to ensure full compatibility. If the file was converted from another design tool (like Figma or Sketch), it might not open correctly. In such cases, try importing the file as a placed image instead of opening it directly. Additionally, ensure the file extension is .xd and hasn’t been corrupted during download.
Missing Fonts or Assets
When fonts don’t appear as intended, Adobe XD will display a warning and substitute them with default typefaces. To fix this, install the required fonts on your system. Many mockups use popular fonts like Inter, Roboto, or SF Pro, which are freely available or included with Creative Cloud. If the font isn’t specified in the mockup’s documentation, inspect the text layer in XD to see the original font name. Replace it with a visually similar alternative if needed. For missing images or linked assets, use the Links panel to relink or replace placeholders with your own content.
Performance Problems
Large mockup files, especially those with high-resolution textures or numerous layers, can slow down Adobe XD. To improve performance, simplify the layer structure by merging or hiding unnecessary groups. Avoid embedding large raster images—instead, link to external assets when possible. Close unused artboards or split complex projects into multiple files. If you're working with one of the more detailed 25+ resources from EpicPxls, consider duplicating only the artboards you need rather than keeping the entire file open. Regularly saving and restarting XD can also help maintain smooth operation.
Advanced Adobe XD Tips for Mockups
Batch Processing
When you need to apply the same design across multiple mockups—such as placing a new app interface on various phone models—batch processing saves significant time. Create your core design on a master artboard, then copy and paste it into each mockup’s screen placeholder. Use keyboard shortcuts (Ctrl/Cmd + C / V) and alignment tools to maintain consistency. For even faster workflows, set up repeat grids with different device frames and populate them with linked design elements. While XD doesn’t have native batch export for mockups, you can export multiple artboards simultaneously by selecting them in the Assets panel and choosing your preferred format.
Plugins and Extensions
Enhance your mockup workflow with Adobe XD plugins. The Plugin Manager (accessible via Plugins > Discover Plugins) offers tools that automate repetitive tasks. For example, use plugins to generate device frames, apply realistic shadows, or insert stock photos directly into mockups. Others help with color contrast checking, icon integration, or exporting variations. These extensions integrate smoothly with mockups from EpicPxls and other sources, adding functionality without leaving the XD environment. Always review plugin permissions and keep them updated for security and performance.
Collaboration Workflows
Adobe XD supports real-time collaboration, making it ideal for team-based mockup projects. Share your XD file via Share > Share for Review to invite stakeholders to comment directly on artboards. For design teams, use Share for Design to grant edit access, enabling multiple users to work on the same mockup file. This is especially useful when maintaining a shared mockups library. Organize team assets using Creative Cloud Libraries, where colors, components, and mockup templates can be synced across projects. When using 25+ resources from platforms like EpicPxls, centralizing approved mockups in a team library ensures brand consistency and reduces redundant downloads. Enable version history to track changes and revert if needed, fostering a more efficient and transparent workflow.
Why Download from EpicPxls?
Commercial License
Use in personal and commercial projects
No Account Required
Download free resources instantly
Quality Curated
Every resource is reviewed for quality
Preview Files
See Figma and Photoshop files before downloading
Who Uses These Mockups?
Professionals and teams who benefit most from our collection
UI/UX Designers
Speed up your workflow with ready-to-use mockups for Adobe XD. Perfect for prototyping and client presentations.
Developers
Get production-ready assets without design skills. Export in any format for web and mobile apps.
Startups & Agencies
Save design budget with affordable premium mockups. Commercial license included for client work.
Marketing Teams
Create professional campaigns faster. All mockups are optimized for social media and ads.
Mockups for Adobe XD FAQCommon questions about these resources
Simple, Transparent Pricing
Get unlimited access to all premium resources
Yearly
- 20 downloads per month
- All file formats
- Commercial license
Lifetime
- Unlimited downloads forever
- All file formats
- Commercial license
Ready to Get Started?
Access 4,441+ free design resources today.
Browse Free ResourcesView Premium PlansEarn 85% and
more on all sales
Upload your products and put them up
for sale at whatever price you want.

