How to Use UI Kits in Illustrator: Complete Guide
EpicPxls offers 140+ curated ui kits for Illustrator, all with a commercial license and editable source files (Figma, Sketch, PSD). Download your chosen ui kits from EpicPxls, then use Illustrator's import function. Most resources include Illustrator-native files for seamless opening.
Last updated February 13, 2026
Everything you need to know about using ui kits in Illustrator.
Trusted by designers at leading companies
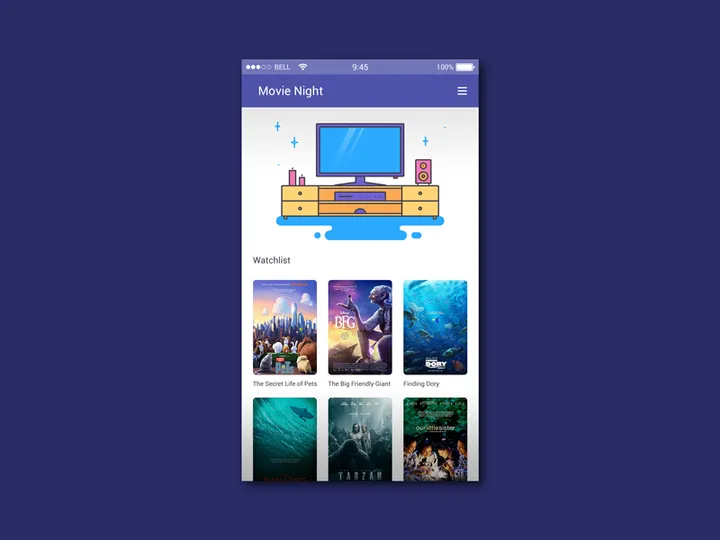
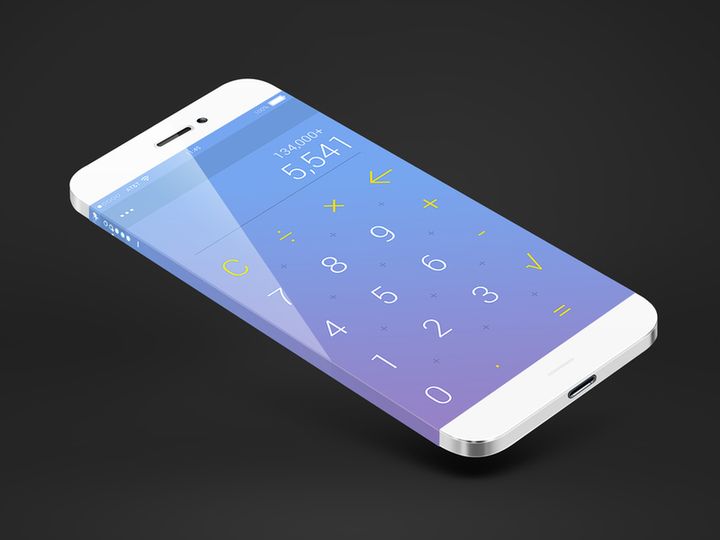
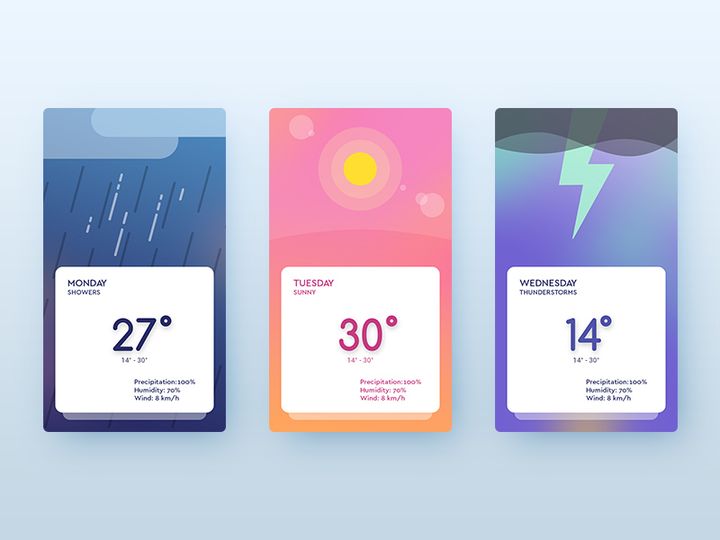
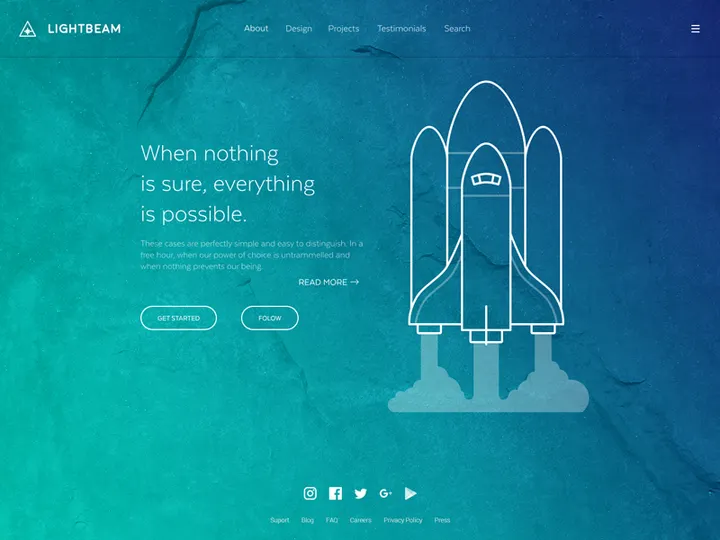
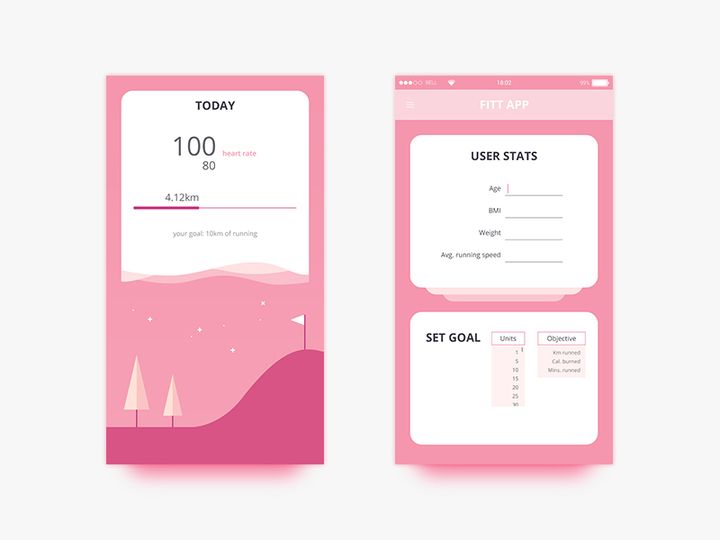
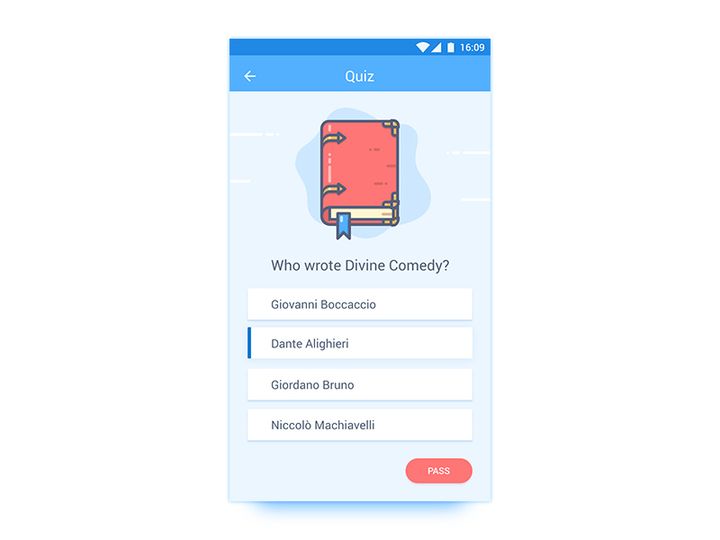
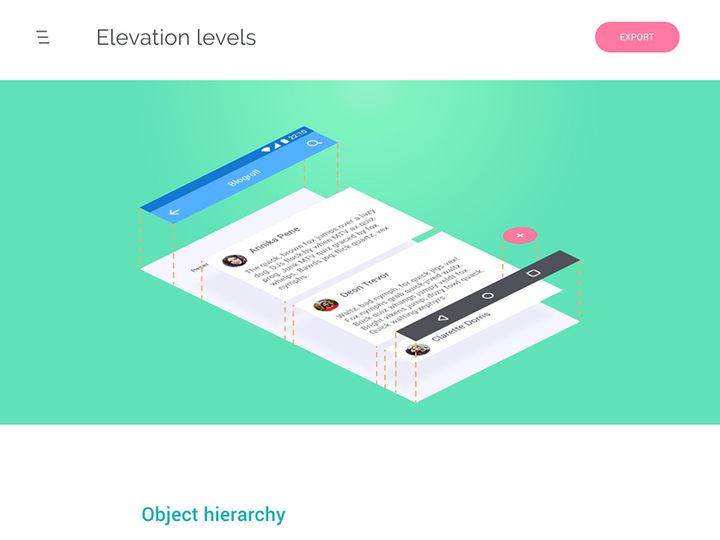
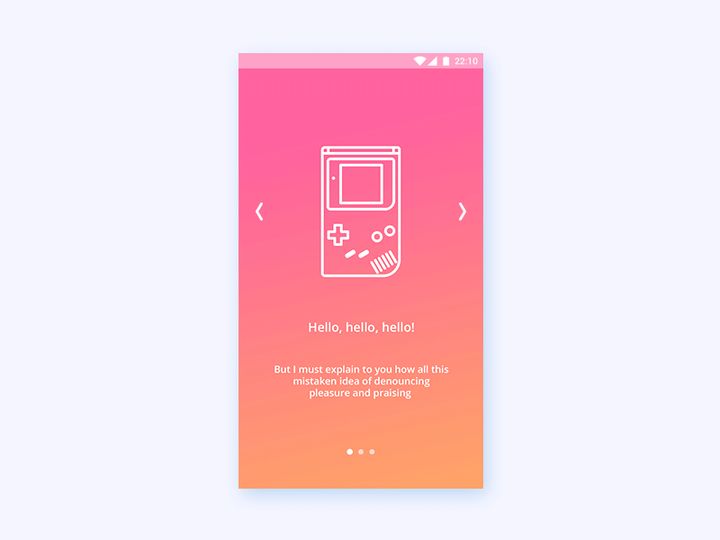
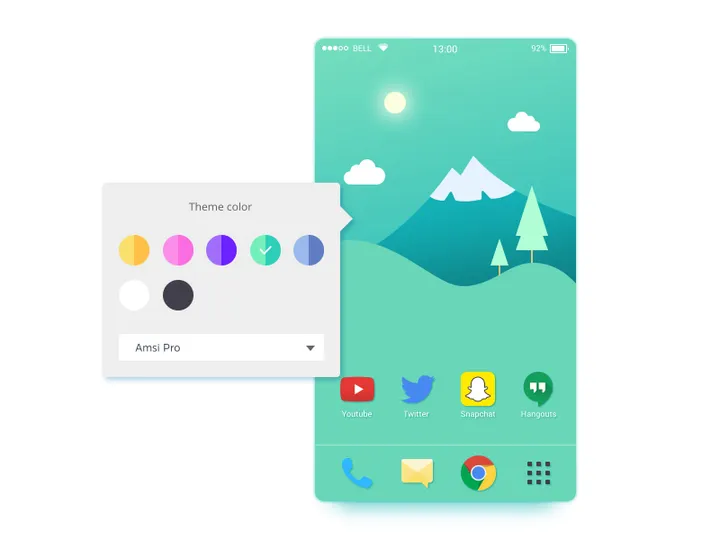
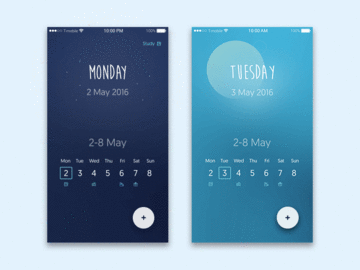
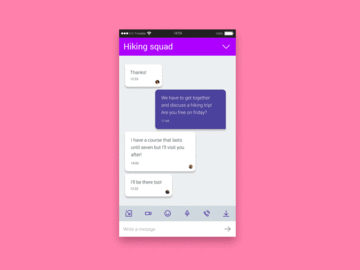
Top UI Kits for Illustrator
Handpicked resources from our curated collection


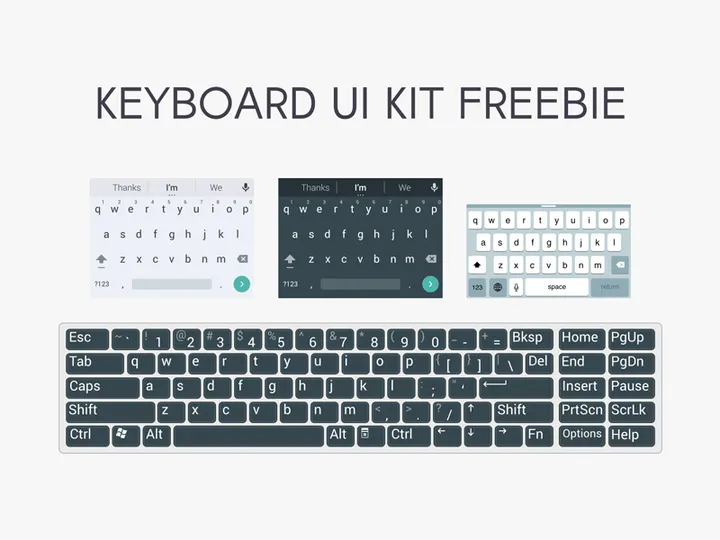


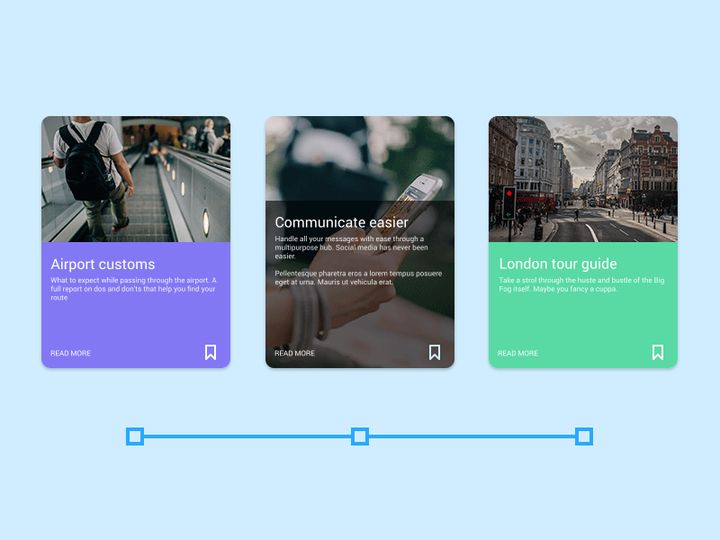

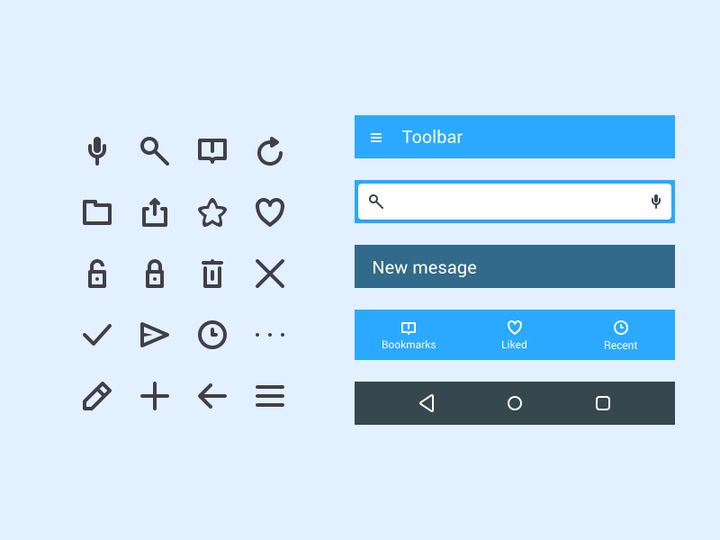


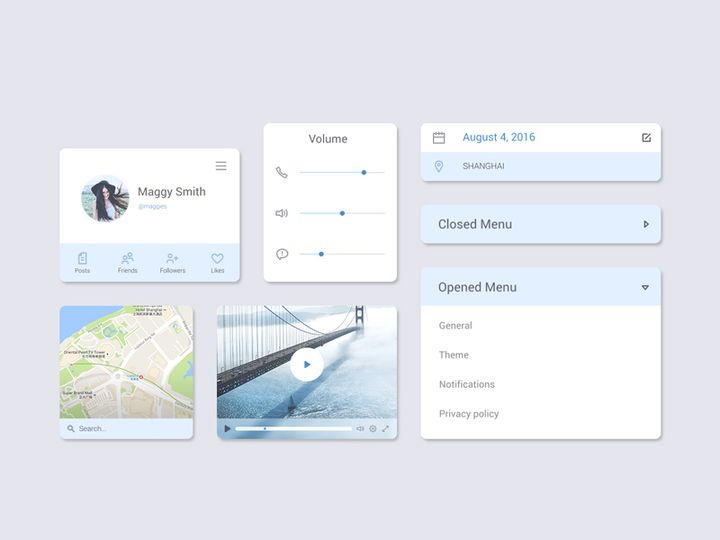
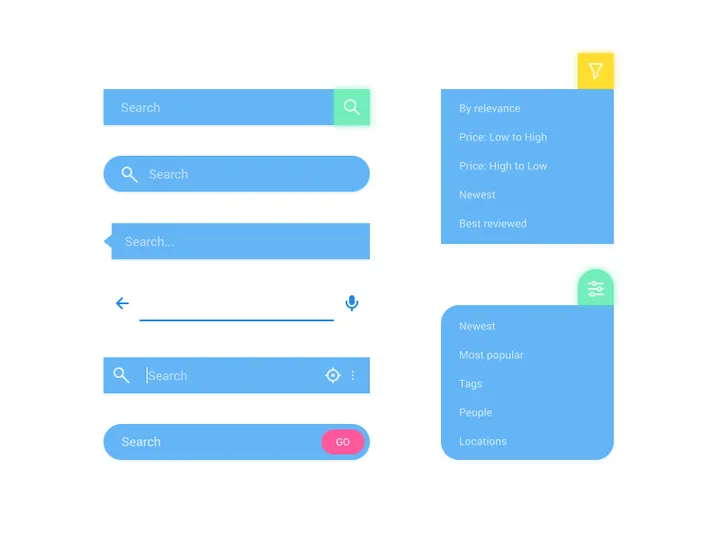

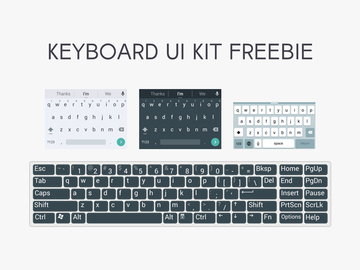
Try Our Free Resources
Download any of these for free - no account required


Getting Started with UI Kits in Illustrator
Using UI kits in Adobe Illustrator can significantly streamline your design workflow, especially when building interfaces for websites, mobile apps, or digital products. Before diving into the integration process, it's important to ensure you have the right setup and resources to make the most of these design tools. Adobe Illustrator is a vector-based program ideal for creating scalable, high-quality UI components, and when paired with well-structured UI kits, it becomes a powerful solution for efficient interface design.
To get started, make sure you’re running a compatible version of Adobe Illustrator—preferably the latest release or a recent version that supports modern file formats like SVG, AI, and PDF. Older versions may struggle with newer UI kit features such as nested layers, symbols, or linked assets. It's also a good idea to keep your software updated to benefit from performance improvements and bug fixes. Once Illustrator is installed and updated, verify that your system meets the recommended hardware specifications, especially if you plan to work with large or complex UI kits.
When searching for UI kits compatible with Illustrator, look for those explicitly labeled as AI or vector format downloads. Many design platforms offer UI kits tailored to Illustrator’s capabilities, including layered components, reusable symbols, and organized layer structures. One excellent source is EpicPxls, which offers a wide selection of professionally designed, Illustrator-ready UI kits. With over 140+ resources available, including dashboards, mobile app templates, icon sets, and wireframe components, EpicPxls provides designers with flexible, high-quality assets that integrate seamlessly into Illustrator projects.
These resources are ideal for both beginners and experienced designers looking to accelerate their workflow. Whether you're designing a prototype or building a full-scale application interface, starting with a solid UI kit ensures consistency, saves time, and maintains visual harmony across your project. In the next sections, we’ll walk you through how to import, customize, and effectively use these kits within Illustrator to maximize productivity and design quality.
How to Import UI Kits into Illustrator
- Download the Correct File Format: Always check that the UI kit you're downloading includes an .AI (Adobe Illustrator) file. If only a .PSD (Photoshop) file is available, Illustrator can open it, but you may lose some vector fidelity. For best results, choose kits labeled as "vector" or "Illustrator compatible." Platforms like EpicPxls clearly indicate which formats are supported, making it easier to select the right version.
- Extract the Downloaded Archive: Most UI kits come in .ZIP or .RAR format. Use a file extraction tool to unzip the folder and locate the .AI file inside. Be sure to keep any associated assets—such as fonts, icons, or image folders—organized in a dedicated project directory.
- Launch Adobe Illustrator: Open Illustrator and go to File > Open. Navigate to the location of the extracted .AI file and select it. Wait for the file to load completely, especially if it contains many layers or high-resolution assets.
- Review the Document Structure: Once opened, open the Layers panel (Window > Layers) to examine how the UI kit is organized. Well-designed kits will have clearly labeled groups for buttons, forms, navigation bars, icons, and other interface elements. This structure makes customization easier.
- Handle Non-AI Formats Carefully: If you're importing a .PSD, .SVG, or even a .FIG (Figma) file converted to another format, be aware that some features may not translate perfectly. For example, text layers might become outlines, or effects may rasterize. Always double-check scalability and editability after import.
- Relink Missing Assets if Needed: Some UI kits use linked images or external files. If Illustrator prompts you about missing links, use the Links panel to relink or embed the necessary assets. This step ensures your design remains intact and export-ready.
By following these steps, you ensure a smooth import process and set the foundation for efficient editing. With over 140+ resources available on platforms like EpicPxls, choosing the right kit and importing it correctly is the first step toward a faster, more professional design workflow in Illustrator.
Step-by-Step: Working with UI Kits in Illustrator
Editing Layers and Components
Once your UI kit is imported, the real work begins—customizing the components to fit your project’s needs. Illustrator’s robust vector editing tools make it easy to modify colors, shapes, text, and layout. Start by exploring the Layers panel, where each UI element—such as buttons, cards, or menus—is typically grouped and labeled for clarity. Unlock any locked layers if needed, and use the Selection or Direct Selection tool to adjust individual parts.
To change colors, select a component and use the Color or Swatches panel to apply your brand palette. For consistent styling, create global swatches so that updates propagate across all linked elements. Text can be edited directly—just double-click the text box and type your new content. If the font is missing, Illustrator will prompt you to substitute it; consider installing the original font or choosing a clean alternative that matches the design tone.
Many UI kits use Symbols for repeated elements like icons or navigation bars. To edit a symbol, double-click it to enter isolation mode, make your changes, and exit to update all instances. This feature is invaluable for maintaining consistency across screens and pages.
Organizing Your UI Kits Library
With access to more than 140+ resources, it’s essential to maintain an organized library of UI kits. Create a dedicated folder on your computer labeled “UI Kits” and subdivide it by category—such as mobile apps, dashboards, or e-commerce templates. Within Illustrator, consider using Libraries (Window > Libraries) to store frequently used components like buttons, icons, or color themes.
You can drag and drop elements from imported UI kits into your Creative Cloud Library for quick access across projects. This method allows you to build a personalized design system that pulls from multiple kits available on EpicPxls. Label your assets clearly and group related items together. Regularly clean up unused components to keep your workspace efficient and clutter-free.
Exporting for Production
When your design is finalized, export your assets in the appropriate formats for development. Go to File > Export > Export As and choose the target format. For web and mobile development, export individual elements as PNG (for transparency and compatibility) or SVG (for scalability and small file size). Use the Asset Export panel to batch-export multiple items with preset sizes (e.g., 1x, 2x).
For print or presentation purposes, export the entire artboard as a high-resolution PDF or EPS file. Make sure to preserve vector data where possible to maintain sharpness at any scale. Always verify with developers the required specifications—such as dimensions, naming conventions, and color modes (RGB for digital, CMYK for print)—to ensure smooth handoff and implementation.
Troubleshooting Common Illustrator Issues
File Won't Open
If a UI kit fails to open in Illustrator, the most common cause is version incompatibility. Older versions of Illustrator cannot open files saved in newer formats. Always check the version requirement listed with the UI kit download. If you're using an outdated version, consider updating Illustrator or requesting a backward-compatible file if available. Additionally, ensure the file is truly an .AI format and not a renamed or corrupted archive. Re-downloading the kit from a trusted source like EpicPxls can resolve this issue.
Missing Fonts or Assets
When text appears substituted or misaligned, it’s likely due to missing fonts. The UI kit documentation usually lists required fonts—download and install them from legitimate sources. If the original font isn’t available, choose a visually similar alternative and update all affected text layers. For missing images or icons, check the downloaded kit folder for a “fonts” or “assets” subdirectory. Use the Links panel to relink any broken paths and embed raster images to prevent future issues.
Performance Problems
Large UI kits with numerous layers, effects, or embedded images can slow down Illustrator. To improve performance, collapse unused layers, hide off-artboard elements, and release unused assets via Window > Links. Avoid applying complex effects like drop shadows or blurs to many objects at once. Instead, use appearance attributes efficiently or rasterize non-essential elements when appropriate. Working with smaller sections of the kit at a time—such as isolating one screen or component—can also help maintain responsiveness.
Advanced Illustrator Tips for UI Kits
Batch Processing
When working with multiple screens or components from a UI kit, use Illustrator’s Actions panel (Window > Actions) to automate repetitive tasks. Record actions for common processes like resizing artboards, applying consistent effects, or exporting assets. Once saved, you can apply these actions across multiple files or layers, significantly reducing manual effort. This is especially useful when preparing 140+ resources for deployment or client review.
Plugins and Extensions
Enhance Illustrator’s functionality with plugins tailored for UI/UX design. Tools that support grid systems, responsive resizing, or design token management can streamline customization of UI kits. Some extensions allow direct import from design platforms or enable better SVG optimization. While Illustrator doesn’t support all third-party tools equally, carefully vetted plugins can extend the life and utility of kits from sources like EpicPxls.
Collaboration Workflows
For team environments, establish a shared library of approved UI components. Store commonly used kits in a cloud folder accessible to all designers, and maintain a style guide that documents usage rules. Use version naming (e.g., “Dashboard_v2.ai”) to track updates and avoid overwrites. When multiple designers work on the same project, break the UI kit into modular files—such as one for buttons, another for forms—to reduce file conflicts. Clear communication and standardized practices ensure that everyone leverages the full value of available resources while maintaining design consistency.
Why Download from EpicPxls?
Commercial License
Use in personal and commercial projects
No Account Required
Download free resources instantly
Quality Curated
Every resource is reviewed for quality
Preview Files
See Figma and Photoshop files before downloading
Who Uses These Ui Kits?
Professionals and teams who benefit most from our collection
UI/UX Designers
Speed up your workflow with ready-to-use ui kits for Illustrator. Perfect for prototyping and client presentations.
Developers
Get production-ready assets without design skills. Export in any format for web and mobile apps.
Startups & Agencies
Save design budget with affordable premium ui kits. Commercial license included for client work.
Marketing Teams
Create professional campaigns faster. All ui kits are optimized for social media and ads.
UI Kits for Illustrator FAQCommon questions about these resources
Simple, Transparent Pricing
Get unlimited access to all premium resources
Yearly
- 20 downloads per month
- All file formats
- Commercial license
Lifetime
- Unlimited downloads forever
- All file formats
- Commercial license
Ready to Get Started?
Access 4,441+ free design resources today.
Browse Free ResourcesView Premium PlansEarn 85% and
more on all sales
Upload your products and put them up
for sale at whatever price you want.

