How to Use Icons in 3D Blender Files: Complete Guide
EpicPxls offers 18+ curated icons for 3D Blender Files, all with a commercial license and editable source files (Figma, Sketch, PSD). Download your chosen icons from EpicPxls, then use 3D Blender Files's import function. Most resources include 3D Blender Files-native files for seamless opening.
Last updated February 13, 2026
Everything you need to know about using icons in 3D Blender Files.
Trusted by designers at leading companies
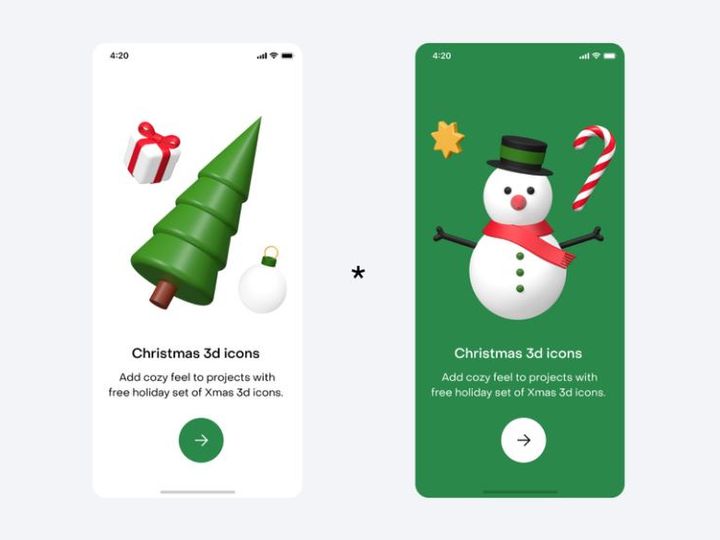
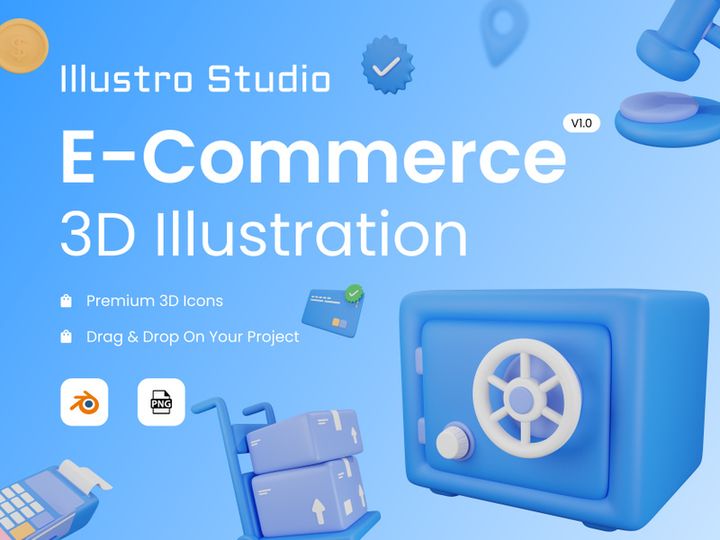
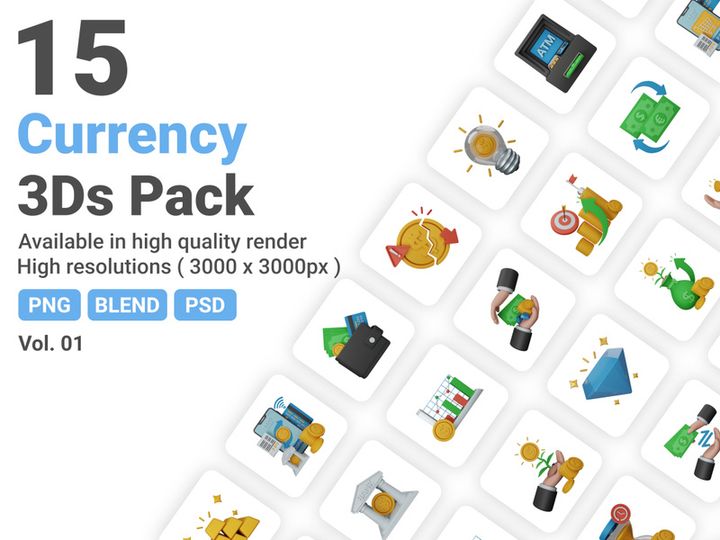
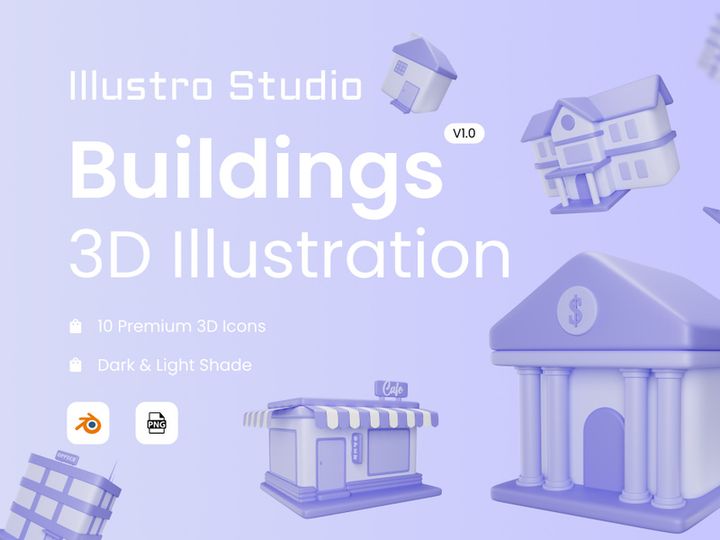
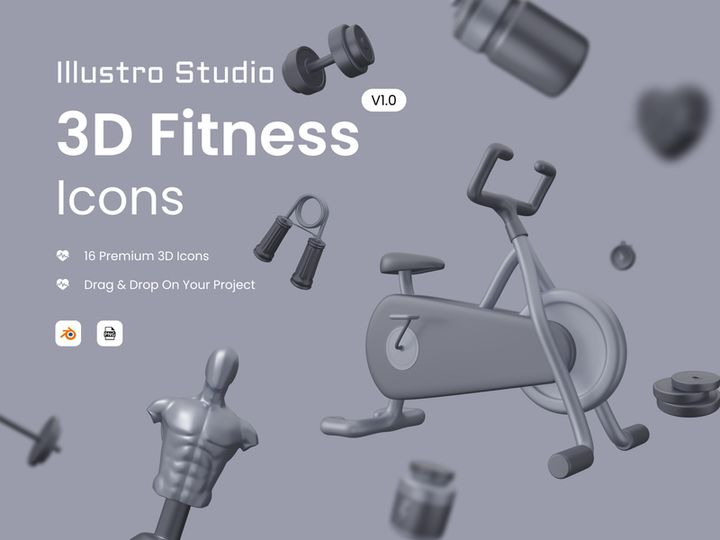
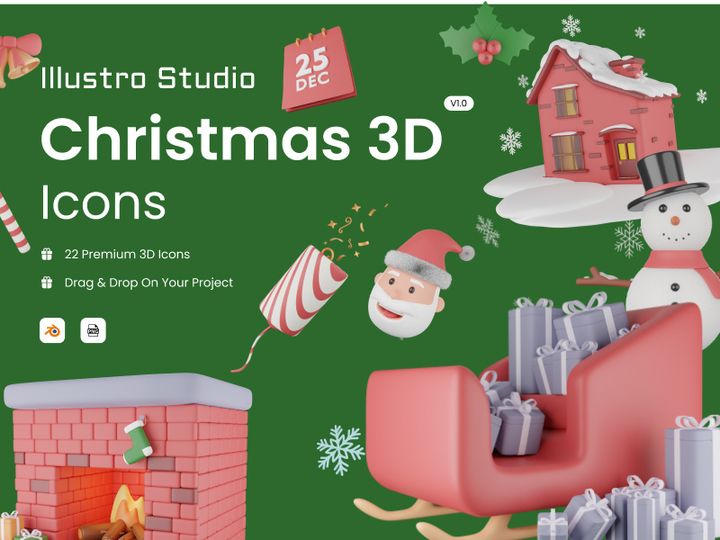
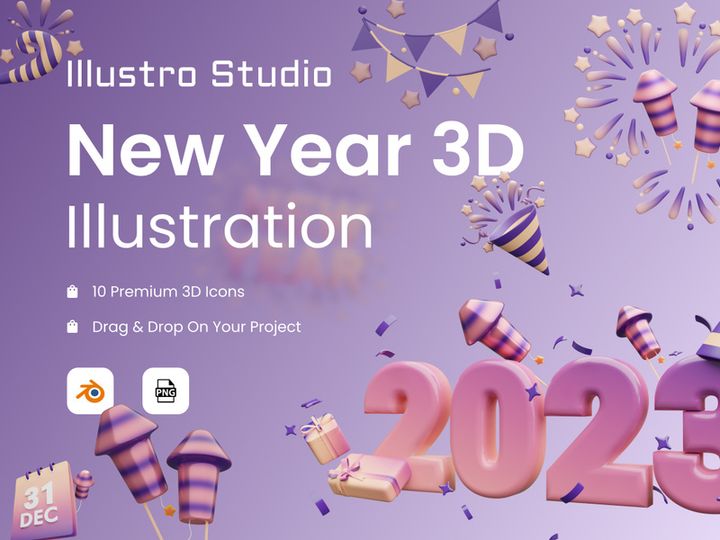
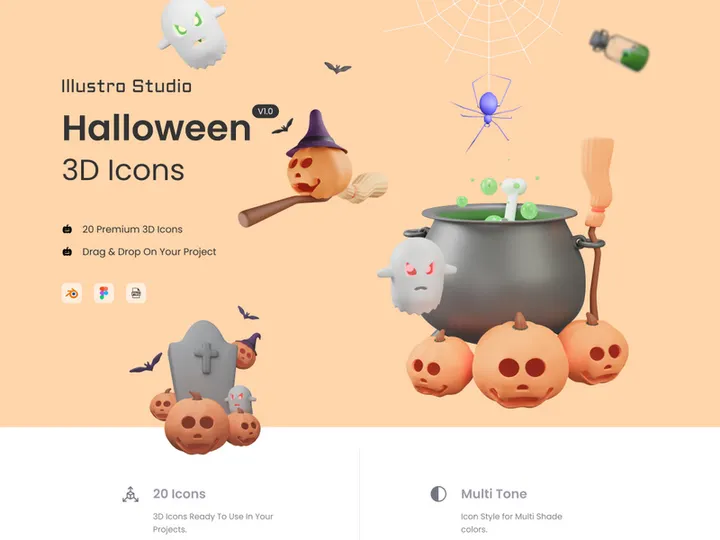
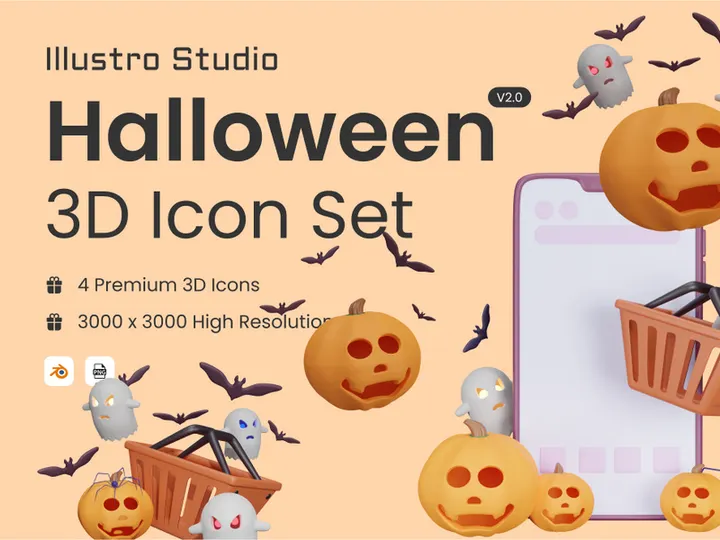
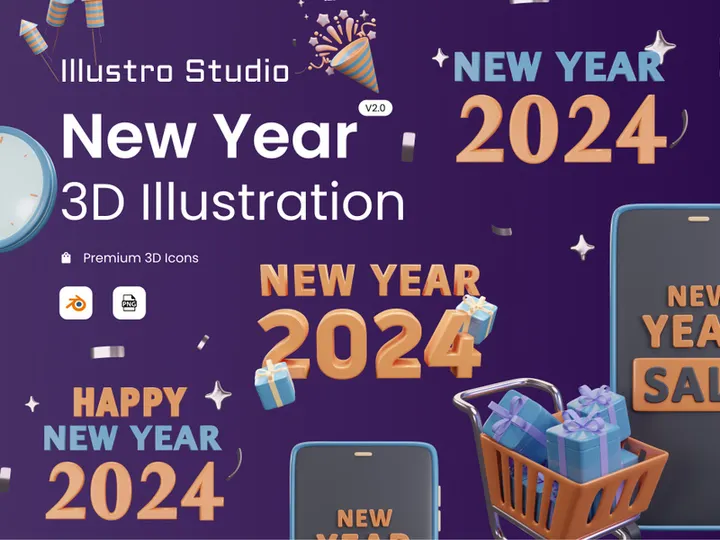
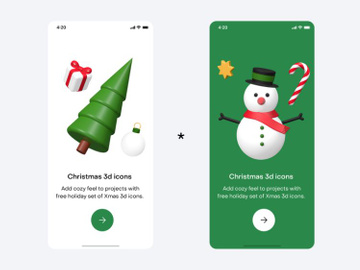
Top Icons for 3D Blender Files
Handpicked resources from our curated collection


Try Our Free Resources
Download any of these for free - no account required

Getting Started with Icons in 3D Blender Files
Integrating icons into 3D Blender files opens up a world of creative possibilities, from enhancing user interfaces in game environments to adding informative symbols in architectural visualizations. Whether you're designing immersive VR experiences or stylized 3D animations, icons can serve as vital visual cues that improve clarity and user engagement. However, using icons effectively in Blender requires a solid understanding of both the software’s capabilities and the technical aspects of icon integration.
Before diving into icon usage, ensure you have Blender installed—preferably the latest stable version, which supports advanced geometry nodes, improved UV mapping, and enhanced material handling. Blender is free and open-source, making it accessible for creators at any level. Familiarity with Blender’s interface, particularly the 3D viewport, Shader Editor, and Outliner, will help streamline the icon integration process. Additionally, having basic knowledge of vector graphics and image file formats will assist in preparing icons for 3D use.
When sourcing icons for use in Blender, it's essential to choose formats that maintain quality and scalability. SVG (Scalable Vector Graphics) is ideal for crisp, resolution-independent icons, while PNGs with transparent backgrounds work well for bitmap-based designs. You can find high-quality, Blender-compatible icons across various platforms, including design marketplaces and creative resource hubs. One such trusted source is EpicPxls, which offers a curated collection of over 18+ resources tailored for digital creators. These assets are optimized for clarity, scalability, and ease of integration, making them perfect for both beginners and professionals.
The 18+ resources available on EpicPxls include stylized icon sets, minimalist symbols, and thematic packs ideal for UI overlays, environmental storytelling, or branded 3D content. These icons are often provided in multiple formats (SVG, PNG, AI), allowing you to select the best option depending on your workflow. With proper setup and access to reliable icon libraries like those from EpicPxls, you're well-equipped to begin incorporating visual symbols into your 3D projects with precision and creativity.
How to Import Icons into 3D Blender Files
- Download the Correct File Format: Begin by downloading icons in a Blender-friendly format. SVG is the most versatile for vector icons, as it supports clean lines and infinite scalability. If you're using raster icons, choose high-resolution PNGs with transparency. Ensure your downloaded pack from EpicPxls includes the appropriate formats for your needs.
- Prepare Blender Workspace: Open Blender and switch to the Layout or Modeling workspace. If you plan to use the icon as a texture or decal, ensure your target 3D object is already created and UV-unwrapped for proper mapping.
- Import SVG Files (if applicable): Go to File > Import > Scalable Vector Graphics (.svg). Select your SVG icon file. Blender converts vector paths into curves, which can then be extruded or manipulated in 3D space. Note: Complex SVGs with embedded images or effects may not import perfectly—simplify them in a vector editor first.
- Handle Raster Formats (PNG, PSD, etc.): For PNG or PSD files, you can’t import them directly as geometry. Instead, use them as textures. In the Shader Editor, create a new material and use an Image Texture node to load your icon file. Connect it to the Base Color input of the Principled BSDF shader.
- Link or Embed Assets: During import, Blender may ask whether to link or embed the file. For standalone projects, embedding is safer. For team workflows, linking allows for easier updates but requires consistent file paths.
- Adjust Scale and Position: After importing, check the icon’s scale. SVG curves often appear extremely large or small. Use the S key to scale and G to reposition. For texture-based icons, adjust UV coordinates in the UV Editor to align the icon precisely on your model’s surface.
When working with AI (Adobe Illustrator) files, save them as SVG first for compatibility. Figma designs can be exported as SVG or PNG and treated the same way. Regardless of format, always verify that transparency is preserved and colors remain accurate post-import. With the right preparation, importing icons into Blender becomes a seamless part of your 3D workflow.
Step-by-Step: Working with Icons in 3D Blender Files
Editing Layers and Components
Once icons are imported into Blender, you can begin customizing them to match your project’s aesthetic. For SVG-based icons (imported as curves), enter Edit Mode to modify individual control points, adjust Bezier handles, or delete unnecessary segments. Use the Extrude tool (via E) to give flat icons depth, transforming them into 3D objects ideal for signage, badges, or decorative elements.
If your icon is applied as a texture, leverage Blender’s Shader Editor to tweak appearance. Add emission shaders to make icons glow, use transparency settings to create fade effects, or combine multiple texture layers for dynamic visuals. For instance, overlay a black-and-white version with color tinting to allow runtime color changes in game engines. Masks and alpha channels ensure clean edges, especially when icons overlay complex surfaces.
For greater control, consider converting SVG curves into meshes (Object > Convert To > Mesh). This allows you to apply modifiers like Bevel, Subdivision Surface, or Array for intricate patterns. Always keep a duplicate of the original icon as a backup before making irreversible changes.
Organizing Your Icons Library
As your projects grow, managing multiple icons becomes crucial. Create a structured folder system outside Blender—categorize icons by theme (e.g., navigation, weather, tech), style (flat, outlined, 3D), or project name. Within Blender, use the Outliner to rename imported icons clearly (e.g., “Icon_WiFi_3D” or “Texture_Home_White”). Group related icons using collections for easy visibility and toggling.
Consider building a master .blend file as a personal icon library. Store commonly used icons as individual assets, and use Blender’s Asset Browser to tag and drag-and-drop them into new scenes. This method saves time and ensures consistency across projects. The 18+ resources from EpicPxls can be pre-sorted this way, enabling fast access during active development.
Exporting for Production
When preparing icons for final use, choose the right export format based on your target platform. For real-time applications like games or AR/VR, export as FBX or GLTF/GLB, which preserve materials and hierarchy. Ensure icons are properly scaled and textured before export—use power-of-two resolutions (e.g., 512x512, 1024x1024) for textures to avoid rendering issues.
For print or high-resolution rendering, use OBJ or STL if the icon is a 3D model, or render stills in OpenEXR or TIFF for maximum quality. When exporting textures, bake materials to image files using the Bake function in the Render Properties tab. Include alpha channels if transparency is needed.
Always test exported files in the target environment. For web or mobile UIs overlaid on 3D scenes, ensure icons remain legible at various distances and lighting conditions. With careful preparation, your Blender-integrated icons will function seamlessly across platforms.
Troubleshooting Common 3D Blender Files Issues
File Won't Open
If an icon file fails to import, check Blender version compatibility. Older versions may not support newer SVG features or high-bit-depth PNGs. Always use the latest stable release of Blender. Also, verify the file extension matches the actual format—sometimes files are mislabeled. If using SVG, open it in a text editor to confirm it’s a valid XML structure. Corrupted downloads from any source, including EpicPxls, should be re-downloaded.
Missing Fonts or Assets
SVG files created in design tools may reference external fonts or embedded images not included in the file. When imported into Blender, text elements may appear as broken paths or disappear entirely. To fix this, convert all text to outlines in your vector editor before exporting to SVG. This turns letters into shapes, preserving appearance. For missing image links in PSD or AI files, ensure all layers are flattened or embedded before conversion.
Performance Problems
Large icon files—especially complex SVGs with thousands of nodes—can slow down Blender. Simplify curves using the Simplify tool in Edit Mode or reduce point count in a vector application. For texture-heavy icons, compress image files to reasonable resolutions (e.g., 1024px max) without sacrificing clarity. Use level-of-detail (LOD) strategies: create low-poly versions for distant viewing. Also, disable visibility of unused icon collections in the Outliner to improve viewport performance.
Advanced 3D Blender Files Tips for Icons
Batch Processing
When working with multiple icons, automate repetitive tasks using Blender’s Python API. Write scripts to import, scale, and material-assign dozens of SVG icons at once. For example, loop through a folder of SVG files, import each, apply a standard extrusion depth, and place them on a grid. This is ideal for creating icon walls or UI panels. Use the Text Editor workspace to write and run custom scripts, speeding up large-scale integrations.
Plugins and Extensions
Enhance your icon workflow with Blender add-ons. The Import Images as Planes add-on (built-in) lets you instantly place PNG icons as textured quads. Enable it in Edit > Preferences > Add-ons. For vector enthusiasts, third-party tools like Curve to Mesh or SVG Importer++ offer improved SVG handling, including better grouping and color retention. These extensions help maintain the integrity of the 18+ resources you import, especially those with layered designs from EpicPxls.
Collaboration Workflows
In team environments, maintain a shared icon library using cloud storage or version control systems like Git-LFS. Store a master .blend file with all approved icons marked as assets. Team members can append or link these into their scenes, ensuring design consistency. Use clear naming conventions and documentation to indicate usage rights, especially for licensed assets from EpicPxls. For real-time collaboration, consider using Blender Cloud or shared project directories with access controls to prevent conflicts.
Why Download from EpicPxls?
Commercial License
Use in personal and commercial projects
No Account Required
Download free resources instantly
Quality Curated
Every resource is reviewed for quality
Preview Files
See Figma and Photoshop files before downloading
Who Uses These Icons?
Professionals and teams who benefit most from our collection
UI/UX Designers
Speed up your workflow with ready-to-use icons for 3D Blender Files. Perfect for prototyping and client presentations.
Developers
Get production-ready assets without design skills. Export in any format for web and mobile apps.
Startups & Agencies
Save design budget with affordable premium icons. Commercial license included for client work.
Marketing Teams
Create professional campaigns faster. All icons are optimized for social media and ads.
Icons for 3D Blender Files FAQCommon questions about these resources
Simple, Transparent Pricing
Get unlimited access to all premium resources
Yearly
- 20 downloads per month
- All file formats
- Commercial license
Lifetime
- Unlimited downloads forever
- All file formats
- Commercial license
Ready to Get Started?
Access 4,441+ free design resources today.
Browse Free ResourcesView Premium PlansEarn 85% and
more on all sales
Upload your products and put them up
for sale at whatever price you want.

