How to Use Graphics in Figma: Complete Guide
EpicPxls offers 20+ curated graphics for Figma, all with a commercial license and editable source files (Figma, Sketch, PSD). Download your chosen graphics from EpicPxls, then use Figma's import function. Most resources include Figma-native files for seamless opening.
Last updated February 13, 2026
Everything you need to know about using graphics in Figma.
Trusted by designers at leading companies
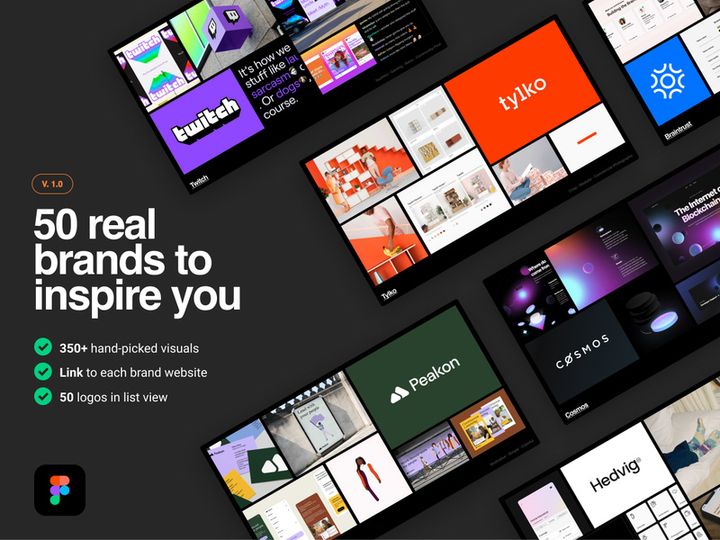
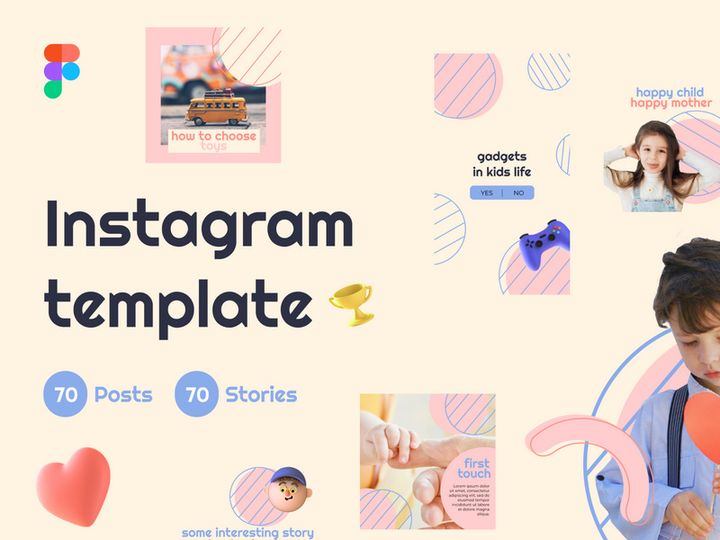
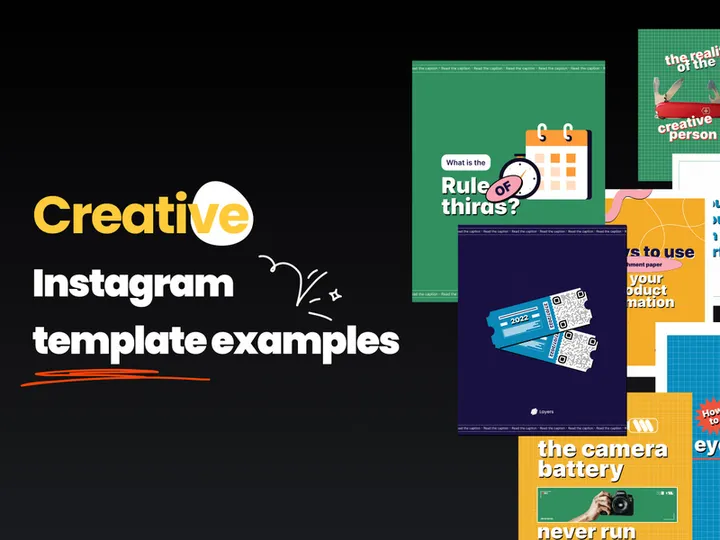
Top Graphics for Figma
Handpicked resources from our curated collection


Try Our Free Resources
Download any of these for free - no account required

Getting Started with Graphics in Figma
Using graphics effectively in Figma enhances design quality, streamlines workflows, and improves collaboration. Before diving into importing and manipulating visuals, it's essential to set up your environment properly. Figma is a browser-based design tool, so the only prerequisite is a stable internet connection and a modern web browser such as Chrome, Firefox, or Safari. While Figma also offers a desktop app, the functionality is consistent across platforms. Sign up for a free or professional account at figma.com to get started. Once logged in, you'll have access to a powerful design canvas where graphics can be seamlessly integrated.
When sourcing graphics, compatibility is key. Figma natively supports SVG, PNG, JPG, and its own .fig format, making it ideal for both raster and vector assets. You can import design elements from various sources, including your own creations, public libraries, and premium marketplaces. One of the best places to find high-quality, Figma-ready graphics is EpicPxls, a trusted platform offering over 20+ resources tailored for modern designers. These include UI kits, icon sets, illustrations, mockups, and customizable templates—all optimized for immediate use in Figma projects.
The 20+ resources available on EpicPxls are curated to save time and maintain consistency across designs. Whether you're building a mobile app, a responsive website, or a marketing presentation, these assets are layered, named logically, and often come with variant components for quick adaptation. Before importing, ensure that your team has access to shared libraries if working collaboratively. Setting up a project structure early—complete with frames, pages, and component folders—will make integrating new graphics much smoother. With your workspace ready and reliable assets sourced, you’re all set to begin importing and using graphics efficiently in Figma.
How to Import Graphics into Figma
- Choose the Right File Format: Before importing, confirm that your graphics are in a Figma-compatible format. SVG and PNG are ideal for vector-based and high-resolution assets, while JPG works well for photographs. If downloading from EpicPxls, always opt for the Figma (.fig) version when available—it preserves layers, styles, and components for easier editing.
- Download the Asset: Visit your chosen resource library and download the graphic file to your local device. For collections like the 20+ resources on EpicPxls, you may receive a ZIP file containing multiple assets. Extract the folder to access individual files.
- Open Your Figma File: Launch Figma and open the project where you want to use the graphic. If starting fresh, create a new file from the dashboard.
- Drag and Drop into Canvas: The easiest way to import is to drag the file directly from your computer into the Figma canvas. This works for images, SVGs, and even .fig files. Figma will automatically place the asset at the center of your current view.
- Use the File Menu (Alternative Method): Click File > Import from the top menu, then select your graphic. This method is useful when importing multiple files at once. Figma supports batch importing, so you can select several images and bring them in together.
- Verify Import Quality: After importing, check the asset’s resolution and layer structure. SVGs and .fig files should retain editability—allowing you to ungroup, recolor, or resize without quality loss. For PSD or AI files, note that Figma converts them to flat images or grouped vectors, so some layer fidelity may be lost. Always prefer native Figma or SVG formats when possible for maximum flexibility.
Importing graphics correctly ensures a smooth design process. Using well-structured files from trusted sources like EpicPxls reduces the need for post-import fixes and accelerates your workflow.
Step-by-Step: Working with Graphics in Figma
Editing Layers and Components
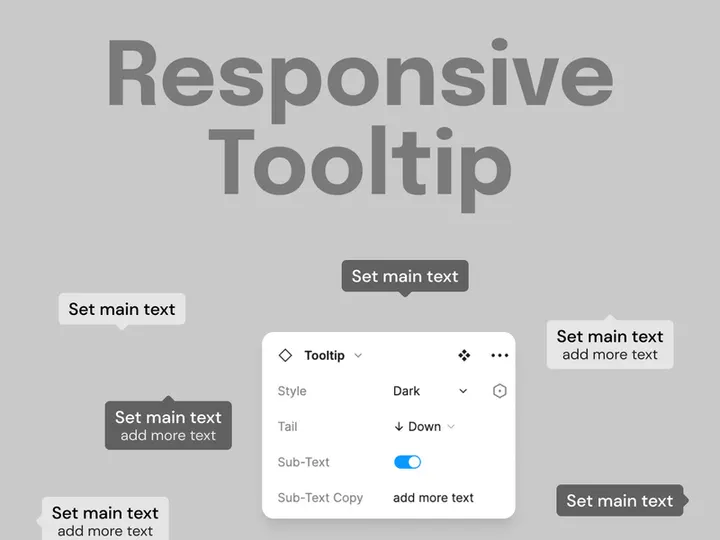
Once graphics are imported, Figma allows deep customization through its layer-based editing system. For vector graphics—especially those in SVG or native .fig format—you can ungroup elements (using Ctrl+Shift+G or Cmd+Shift+G) and modify individual shapes, paths, and colors. Use the vector tools in the toolbar to adjust anchor points or apply Boolean operations like union or subtract. If the graphic is part of a component, double-click to enter isolation mode and make changes that will propagate to all instances.
Components are a cornerstone of efficient graphic usage in Figma. When you import a UI kit or icon set from the 20+ resources on EpicPxls, you’ll often find that buttons, cards, and icons are already set as components. You can swap instances, update properties via the right sidebar, or create variants for different states (e.g., active, disabled). This ensures consistency and reduces repetitive work. For example, if you have a notification icon used across 10 screens, updating its color in the master component instantly reflects everywhere.
Organizing Your Graphics Library
As your project grows, managing imported graphics becomes critical. Create dedicated pages or sections within your Figma file for “Assets,” “Icons,” or “Illustrations.” Use clear naming conventions—for example, “Icon/User/Profile-Filled” instead of “Group 12.” This makes it easier to search and reuse elements.
Leverage Figma’s team library feature to store frequently used graphics. If your team uses assets from EpicPxls, upload the most valuable components to a shared library so everyone has access. This centralization prevents duplication and ensures brand consistency. You can also use descriptive tags in component names or leverage plugins like “Naming Manager” to standardize structure across large libraries of the 20+ resources you may be working with.
Exporting for Production
Figma excels in preparing graphics for real-world use. To export, select the asset and click the + icon under the “Export” section in the right-hand properties panel. Choose the appropriate format: PNG for high-quality raster images (ideal for web and app use), SVG for scalable vector graphics (especially icons and logos), and JPG for photographs where file size matters.
Set the scale carefully—1x is standard for web, while 2x or 3x may be needed for retina displays. For mobile apps, exporting at multiple scales ensures crisp visuals across devices. You can also export entire frames or components as assets directly from the design. When working with a comprehensive kit from EpicPxls, you might export an entire icon set at once by grouping them in a frame and using batch export settings. Always double-check transparency settings (use PNG with transparency for overlays) and color profiles (sRGB is standard for digital).
Troubleshooting Common Figma Issues
File Won't Open
If a graphic file fails to open in Figma, the issue is often related to format or version compatibility. Figma can’t open proprietary formats like PSD or AI directly unless they’re converted first. While drag-and-drop may import them as images, complex layer structures are often flattened. For best results, convert such files to SVG or use software like Adobe Illustrator to export layers individually before importing into Figma. Additionally, if you're working with a .fig file that won’t load, ensure it wasn’t created in a newer version of Figma than your client supports. Updating your app or browser usually resolves this.
Missing Fonts or Assets
When importing graphics—especially from third-party sources—missing fonts are a common issue. If text appears in a fallback font, Figma will notify you in the right sidebar. To fix this, install the required font on your system or replace it with a compatible alternative. Websites like Google Fonts or your organization’s design system can help maintain consistency. For missing images or linked assets, check if the original file relied on external links. Figma embeds most graphics, but if you’re using a plugin or linked library, ensure all team members have access permissions. When downloading from EpicPxls, most resources come with free or web-safe fonts to avoid such conflicts.
Performance Problems
Large files with high-resolution images or hundreds of layers can slow down Figma. If your project feels sluggish, start by simplifying complex graphics. Raster images over 2MB should be compressed before import. Convert frequently used elements into components to reduce redundancy. Ungroup unnecessary nested layers and delete hidden or off-canvas objects. Use “Detach Instance” sparingly, as it multiplies layer count. For teams using multiple assets from the 20+ resources on EpicPxls, consider importing only what’s needed per project rather than entire libraries at once. Figma’s performance improves significantly when files are lean and well-organized.
Advanced Figma Tips for Graphics
Batch Processing
When working with large sets of graphics—such as icon libraries or illustration packs—batch processing saves significant time. Use Figma’s “Smart Animate” and “Auto Layout” features to apply consistent spacing and transitions across multiple elements. You can also select multiple layers and change their fill, stroke, or effects simultaneously. For exporting, group related graphics into a single frame and apply export settings to the entire frame, allowing you to generate multiple assets in different formats and scales with one action. This is especially useful when prepping the 20+ resources from EpicPxls for development handoff.
Plugins and Extensions
Figma’s plugin ecosystem enhances graphic manipulation capabilities. Install plugins like “Image Palette” to extract color schemes from imported images, or “Content Reel” to manage placeholder graphics efficiently. For vector optimization, “SVG Cleaner” helps reduce file size without quality loss. If you frequently use assets from EpicPxls, look for plugins that integrate with design asset platforms to streamline downloading and importing. These tools automate repetitive tasks and ensure graphics are production-ready faster.
Collaboration Workflows
Figma shines in team environments. Set up a shared team library to store approved graphics, ensuring all designers use the same versions of icons, buttons, and illustrations. When importing resources from EpicPxls, designate a team member to review and publish components to the library. Use comments and version history to track changes to graphics. Developers can inspect assets directly in Figma, copying CSS, SVG code, or downloading exports without switching tools. For organizations using multiple assets from the 20+ resources, establishing a clear workflow—such as naming conventions, update schedules, and access controls—keeps the design system scalable and maintainable.
Why Download from EpicPxls?
Commercial License
Use in personal and commercial projects
No Account Required
Download free resources instantly
Quality Curated
Every resource is reviewed for quality
Preview Files
See Figma and Photoshop files before downloading
Who Uses These Graphics?
Professionals and teams who benefit most from our collection
UI/UX Designers
Speed up your workflow with ready-to-use graphics for Figma. Perfect for prototyping and client presentations.
Developers
Get production-ready assets without design skills. Export in any format for web and mobile apps.
Startups & Agencies
Save design budget with affordable premium graphics. Commercial license included for client work.
Marketing Teams
Create professional campaigns faster. All graphics are optimized for social media and ads.
Graphics for Figma FAQCommon questions about these resources
Simple, Transparent Pricing
Get unlimited access to all premium resources
Yearly
- 20 downloads per month
- All file formats
- Commercial license
Lifetime
- Unlimited downloads forever
- All file formats
- Commercial license
Ready to Get Started?
Access 4,441+ free design resources today.
Browse Free ResourcesView Premium PlansEarn 85% and
more on all sales
Upload your products and put them up
for sale at whatever price you want.

